Lot’s of pictures coming up! (With lambs, of course!)
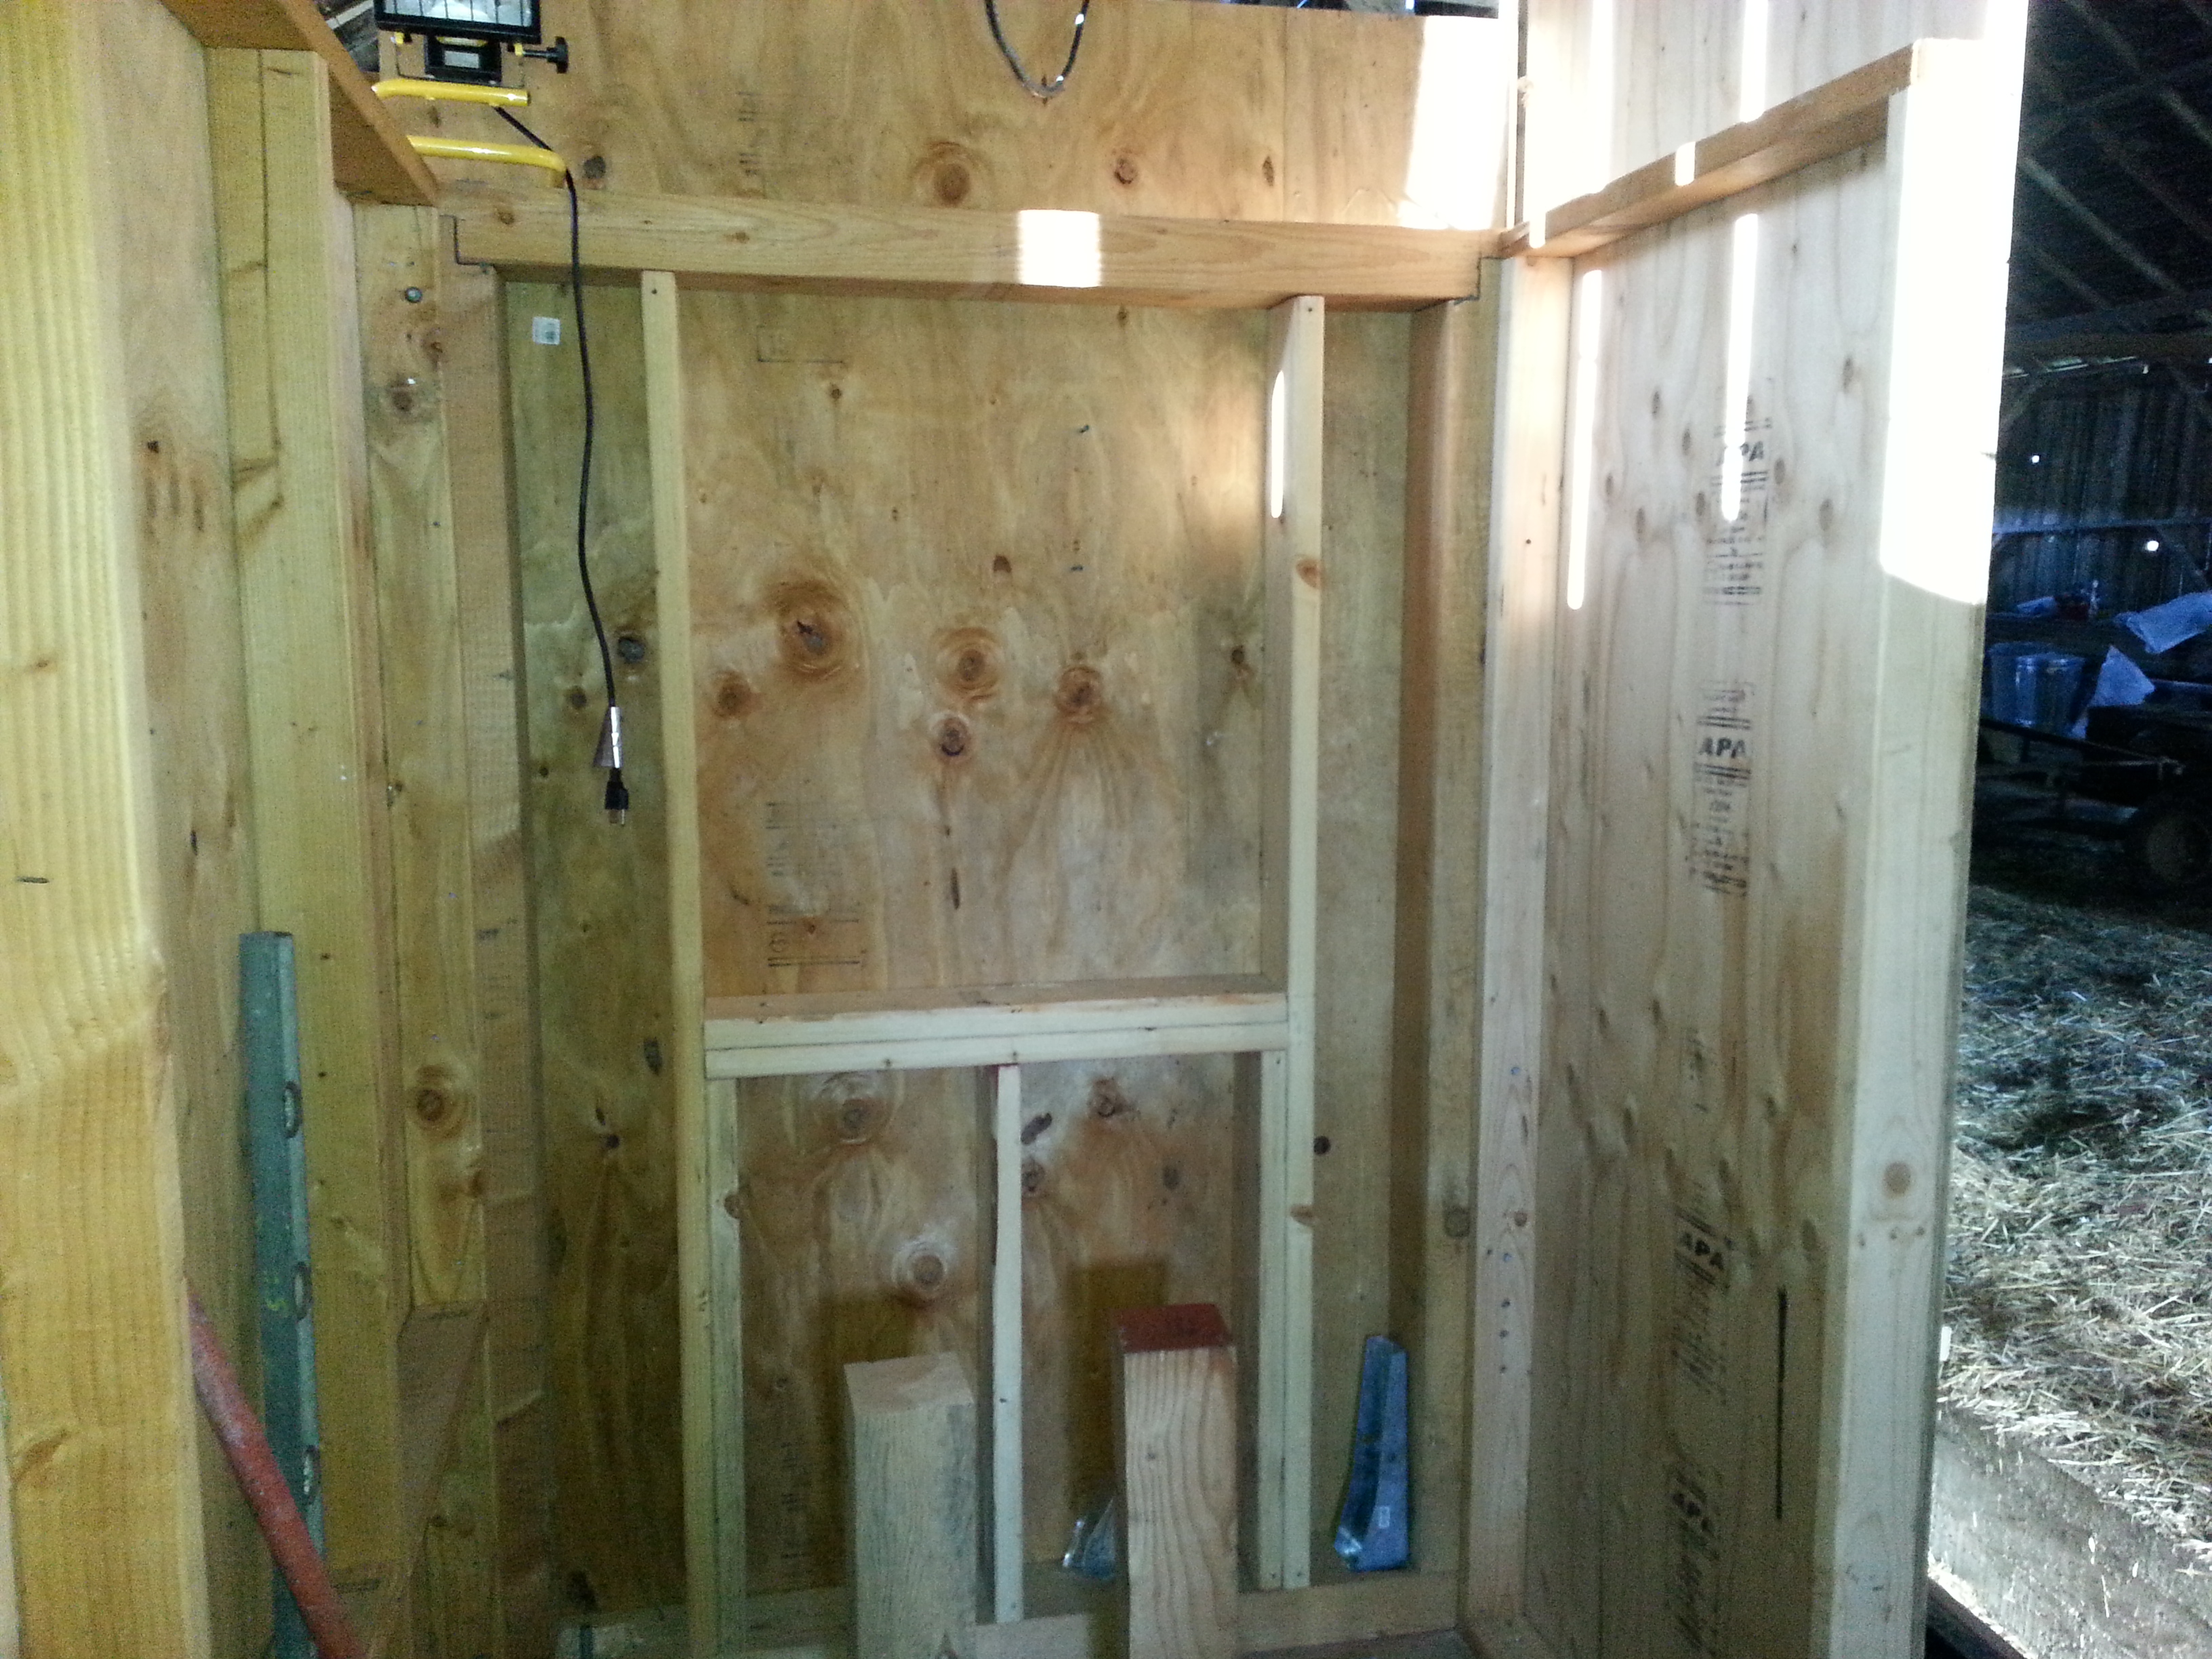
We backed the house into the barn and stored all the materials underneath it or in unused horse stalls in the back. 
Joseph using the barn beams to plumb the walls of the house.

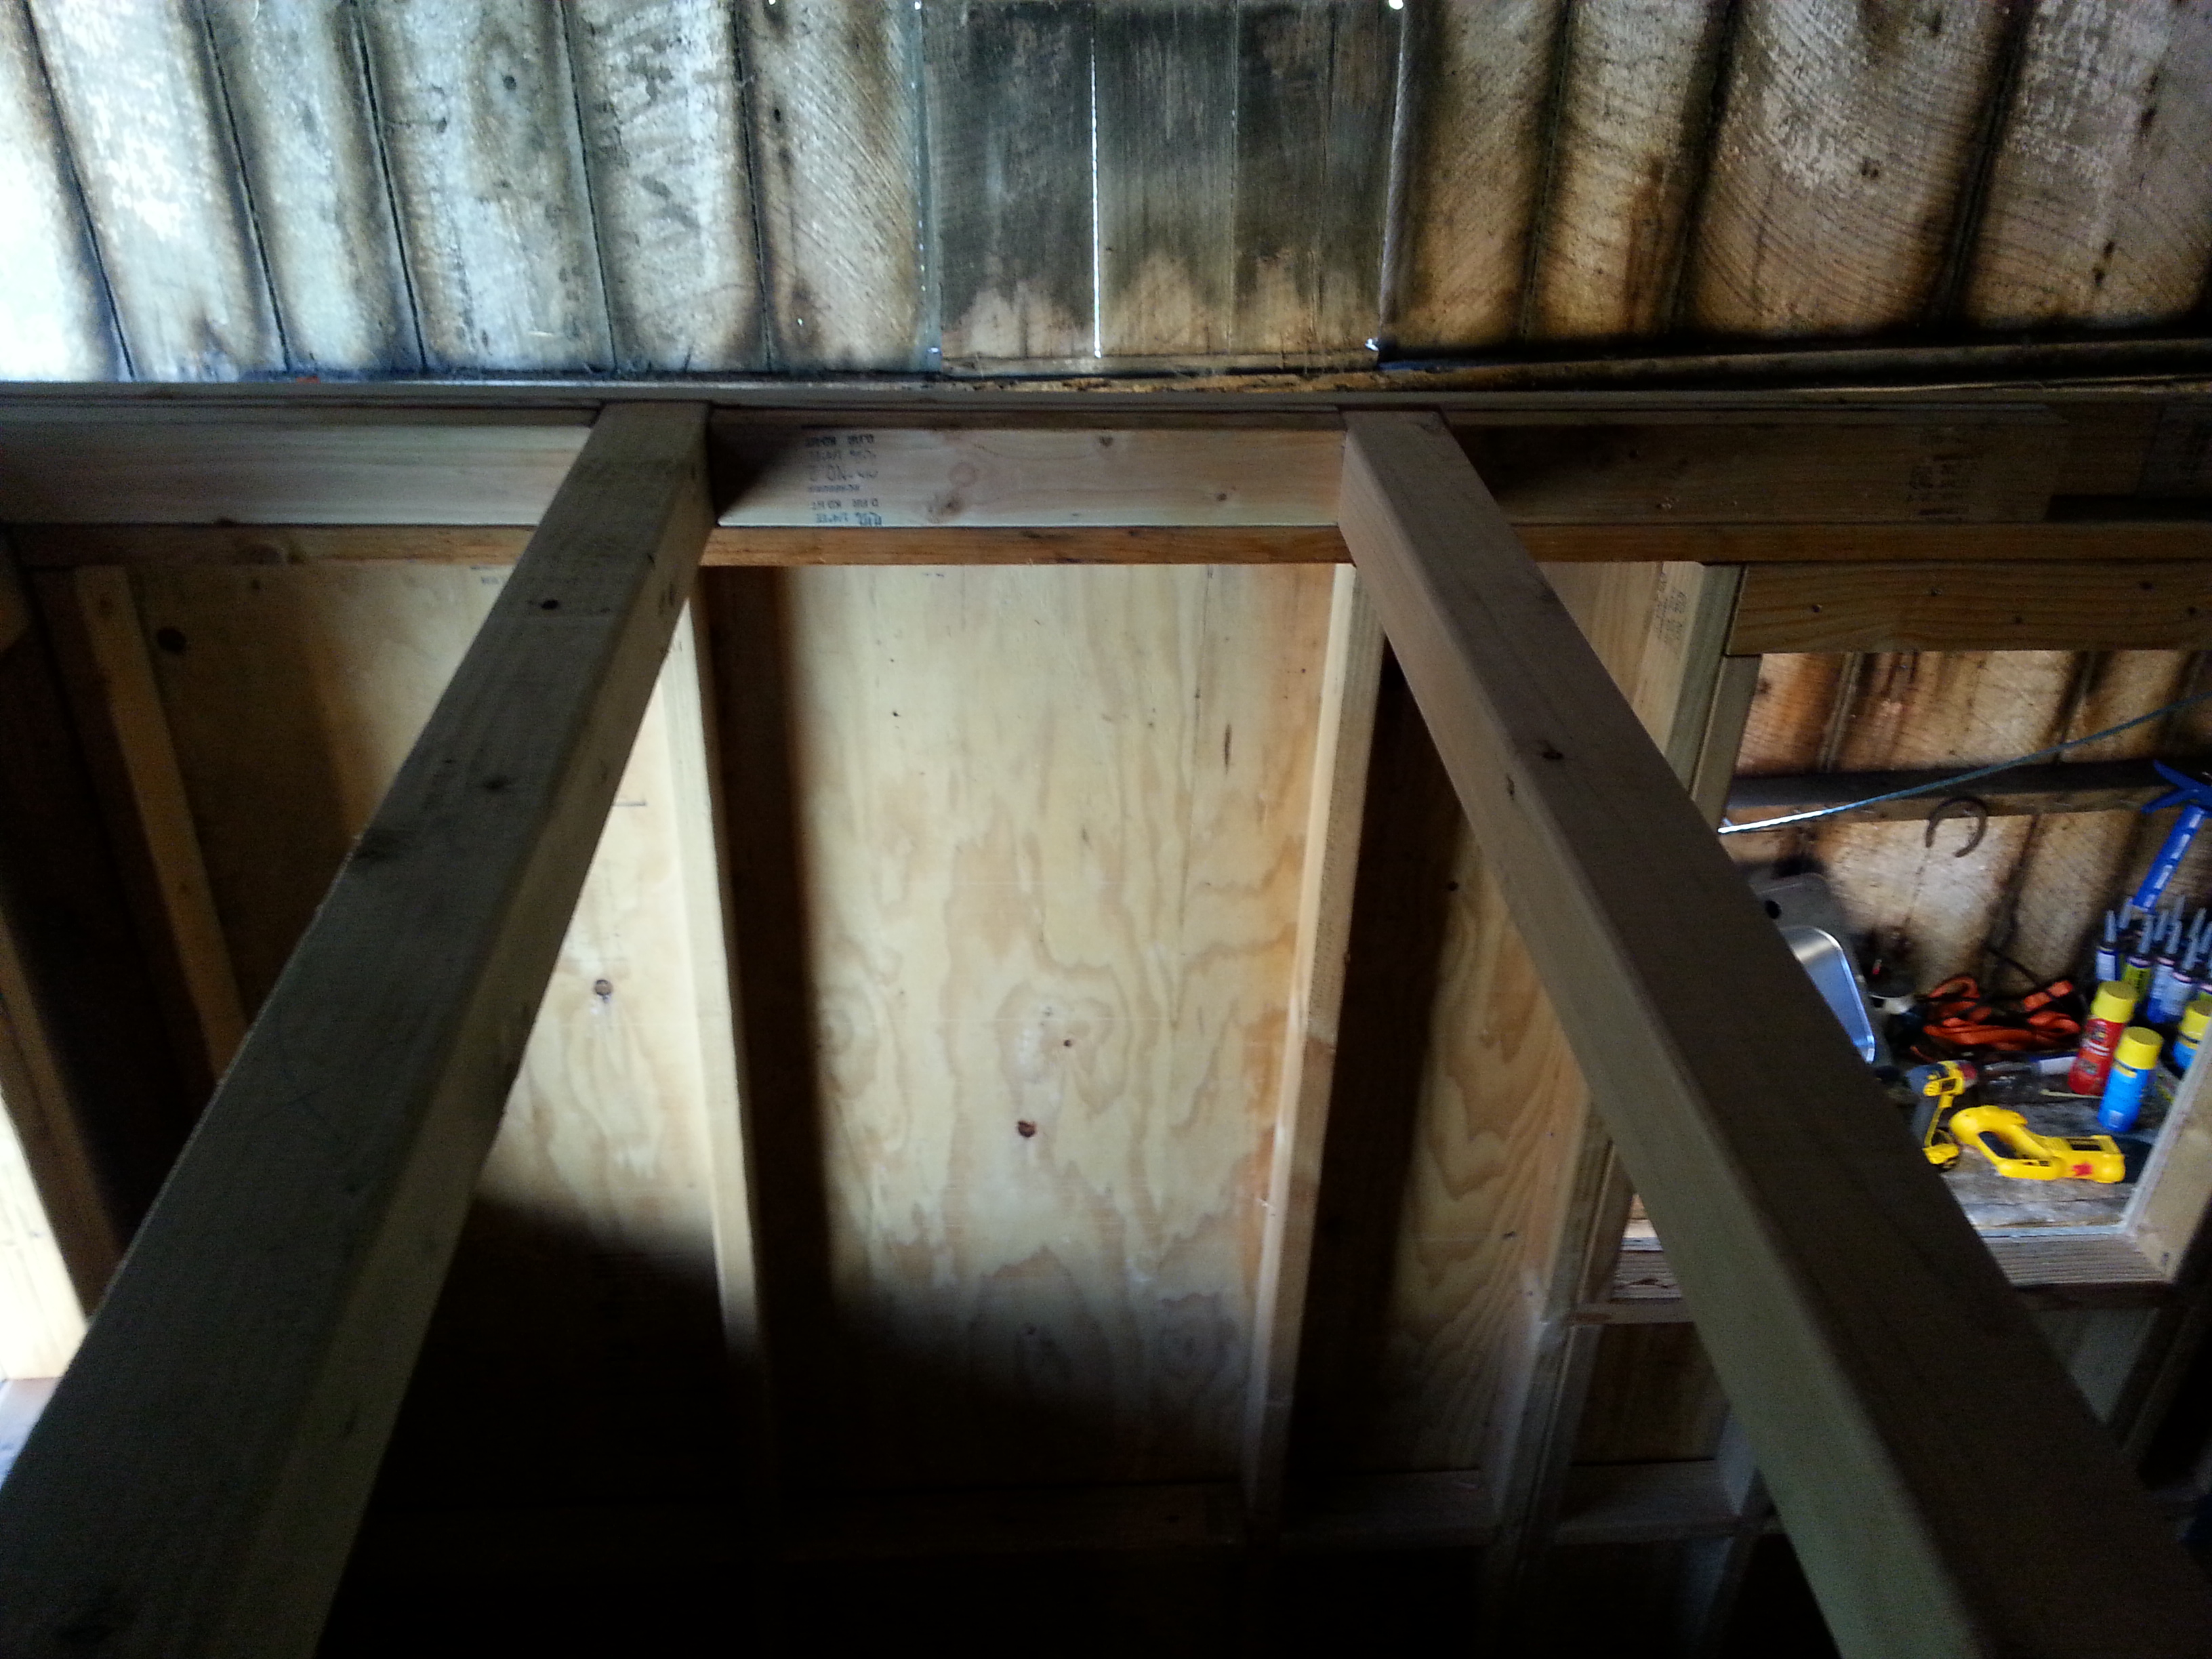
A view from where the lofts are about to be put in.

4X4 Redwood beams sanded with 240 grit paper, then put into place. It’s hard to NOT pet them as we walk under

With the help of my friend Edward, the loft gets put into place! Oh how sweet it is.


A better view of the redwood beam under the tongue-and-groove cedar loft.
Edward and I enjoying the view from what will be the bedroom!

Building up the side wall by about 6”. We didn’t extend the sheathing up past our framing (like we were supposed to do), so we’re putting these nifty Simpson plates on, to attach the sheathing and to add to the structural integrity.


Simpson plates? $.49 each. Hammer and nails? $21.86. The feeling that our house can whiz down the highway without racking? Priceless.

Sometimes you just get your head stuck in a fence… …when going for the wisteria! #ranchlife
Stuffing insulation loosely into the wall headers. It’s the air that makes insulation do what it does, and if you pack it too tightly, it transfers cold and heat too easily.

Here’s Meg helping us out! Things go SO much faster with her around. Good luck in Indiana, Meg…See you soon!

Sarah and Meg knocking it OUT!

Puttin’ on the Rit…uh…. house wrap!


Cutting out the windows and flashing them.


Our window nook taking shape!
Color test for our cedar siding. We have a winner!

Porch being built.


Our new/old table saw… They don’t make them like this anymore. 
How we did without it before, I’ll never know.


We want this image as a stained glass window in our work loft. 4 or 6-sided. Anyone know someone who does stained glass?

All the windows are IN! Shimmed and ready for trim, which will also double as window-holder-inners.

Breaking the shims off is the fun part.
 I left a LOT of space to make mistakes for the windows, thinking I’d need the extra leeway to get it right. All I can say is, it’s just not needed. 1/2” on all sides is all you need, and it’s both easier and better insulated if your rough opening is smaller. Live + learn.


To put the windows in by myself, I made these jigs for the outside of the window. I used them to clamp onto and as spacers to allow for the 1” overhang on the outside.


The last window that went in had nailing fins… = cake!
Coop-n-Annie…

That’s all for now. I hope to put up some videos next week about all these things. Also to look forward to: bed vetting, window trimming, painting and figuring out utilities (this one makes me nervous). Oh and lambs and sheep. Plenty more lambs and sheep.


You must be logged in to post a comment.