Category Archives: insulation

January 2016!

A lot of building, learning and living happened in 2015.  Sarah and I got engaged (woo-hoo!), we toyed with the idea of committing to a beautiful eighty-three acre property in southwestern Oregon (not this time!), I did some theatre, Sarah got a promotion, we both met some really wonderful people and friends, we helped others build their tiny house, and through it all our little abode has continued to grow. It feels more and more like home with every nail 😉 

Oh, and one more thing, we have decided to move back to the Petaluma, California area, or the greater Bay Area in general – please do let us know if you know of a place for an off-grid, self-sufficient tiny house and two tiny-house-dwellers!

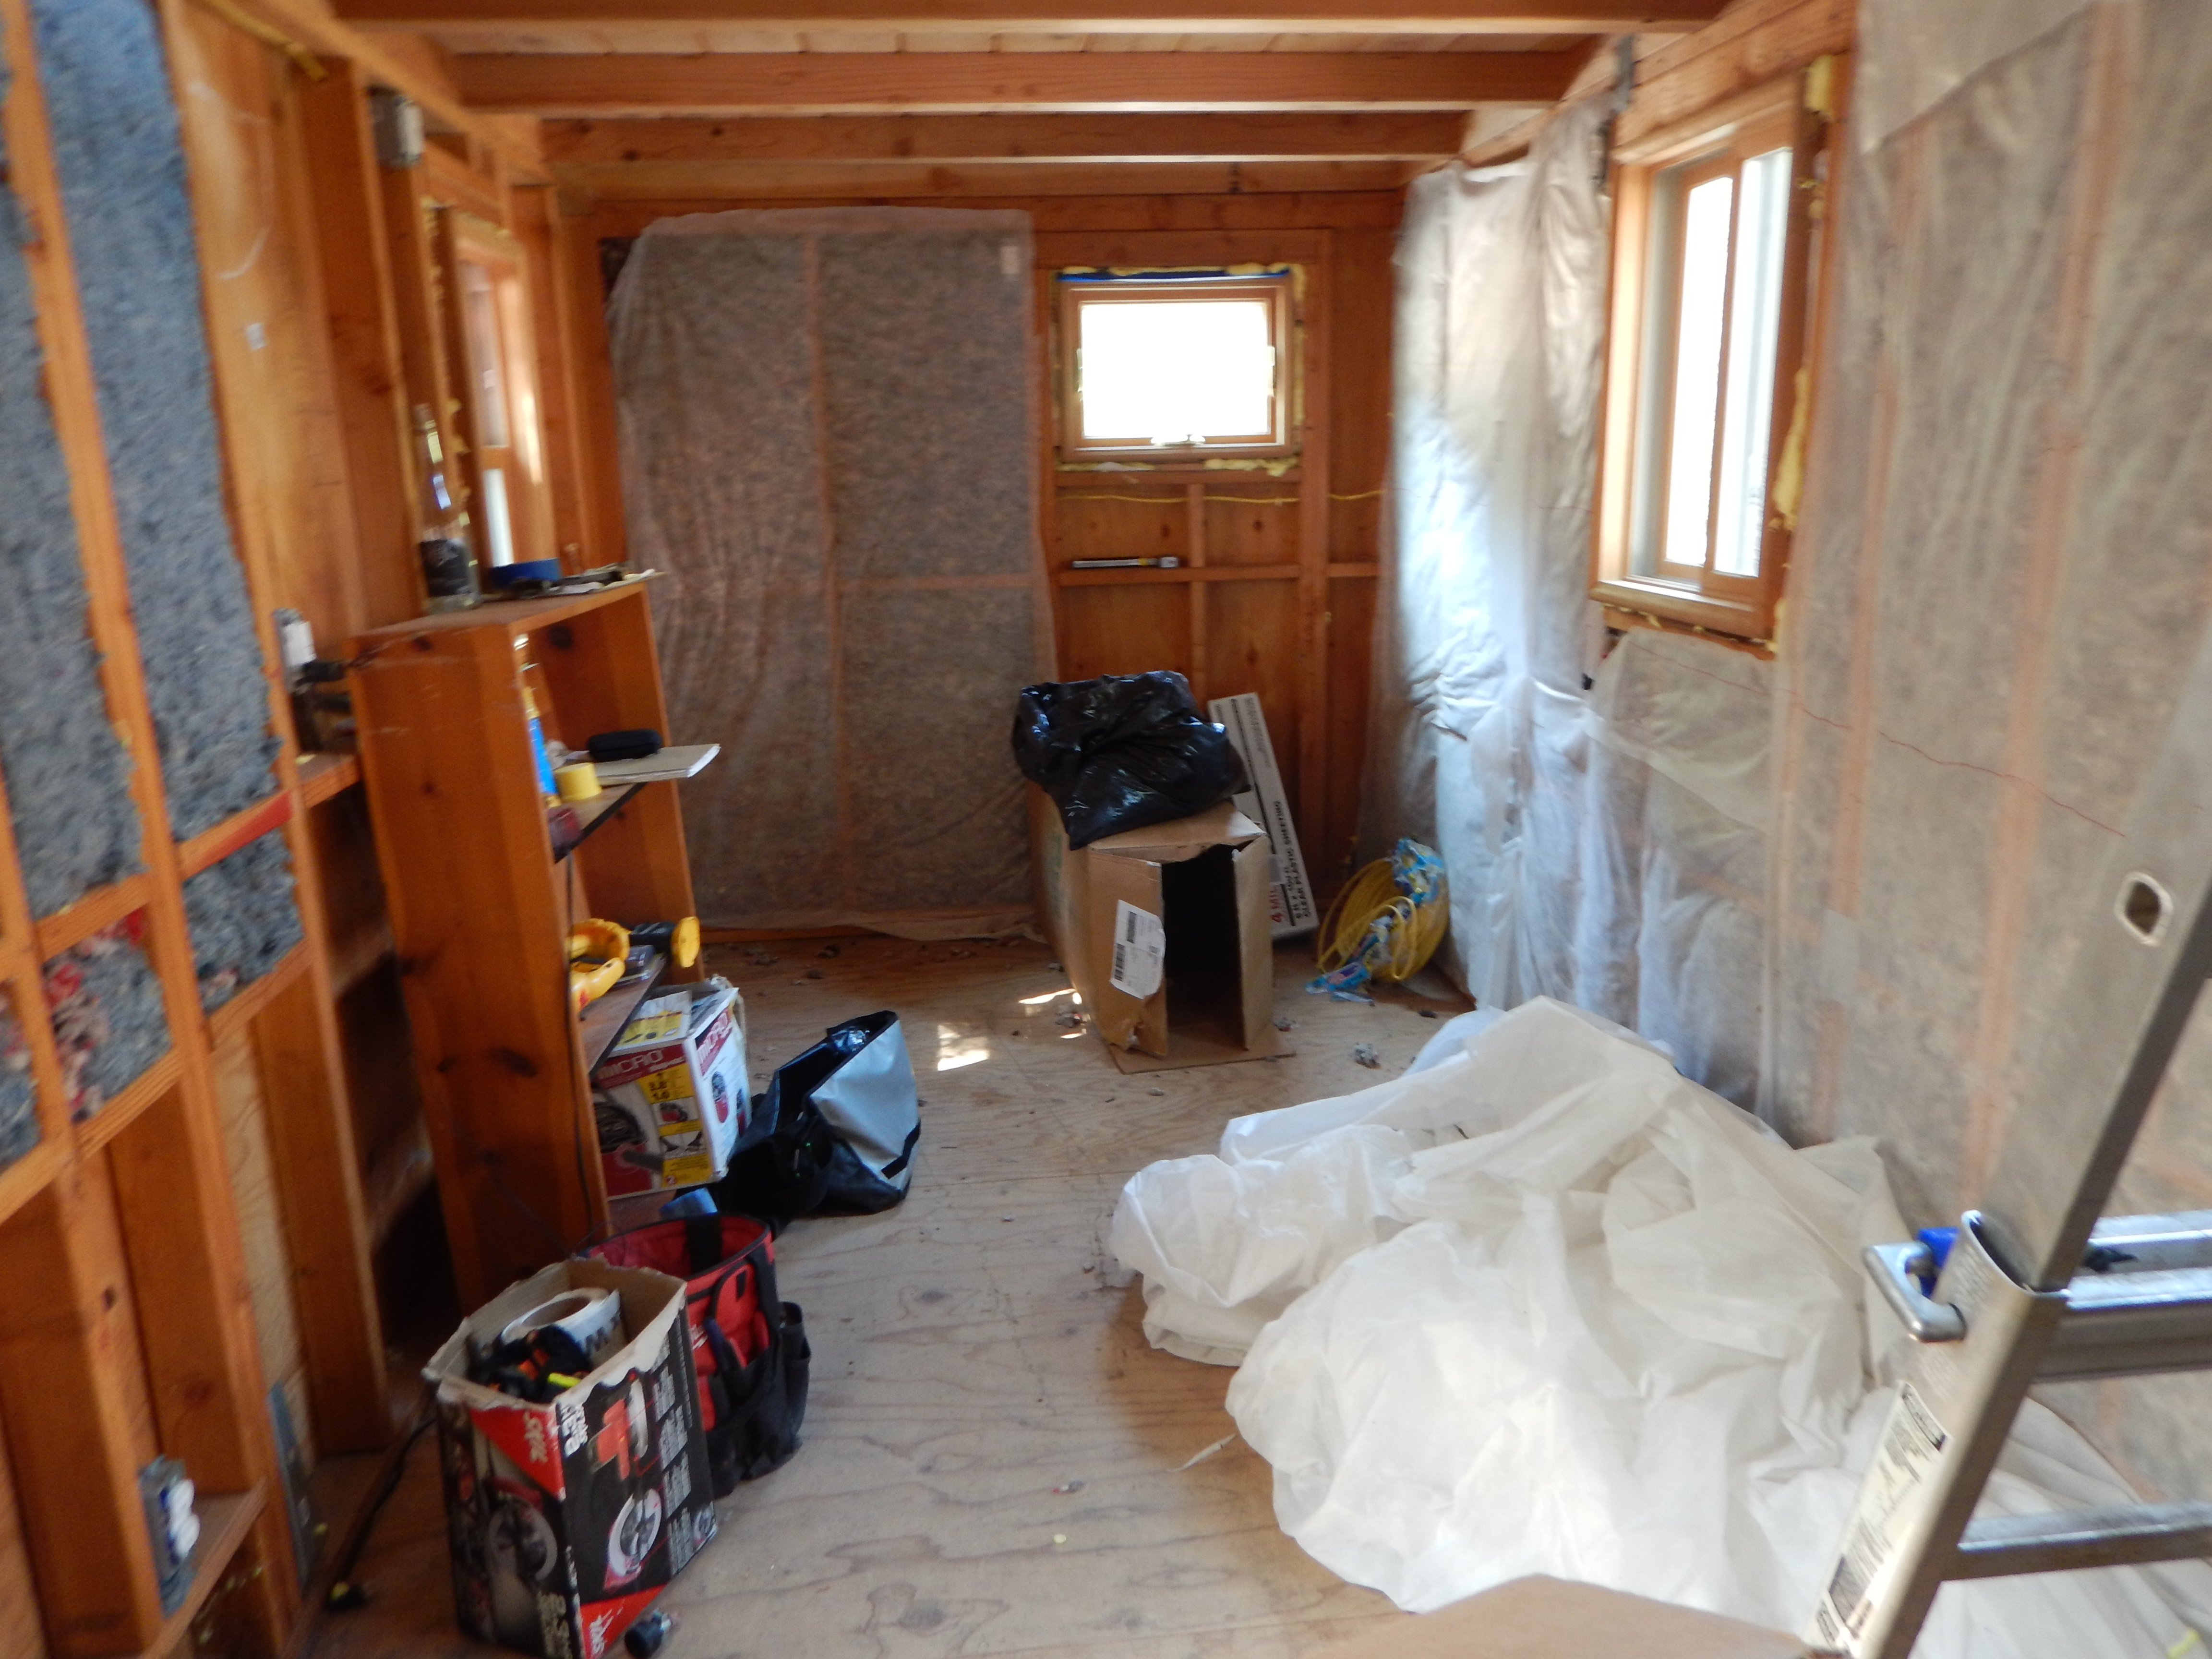
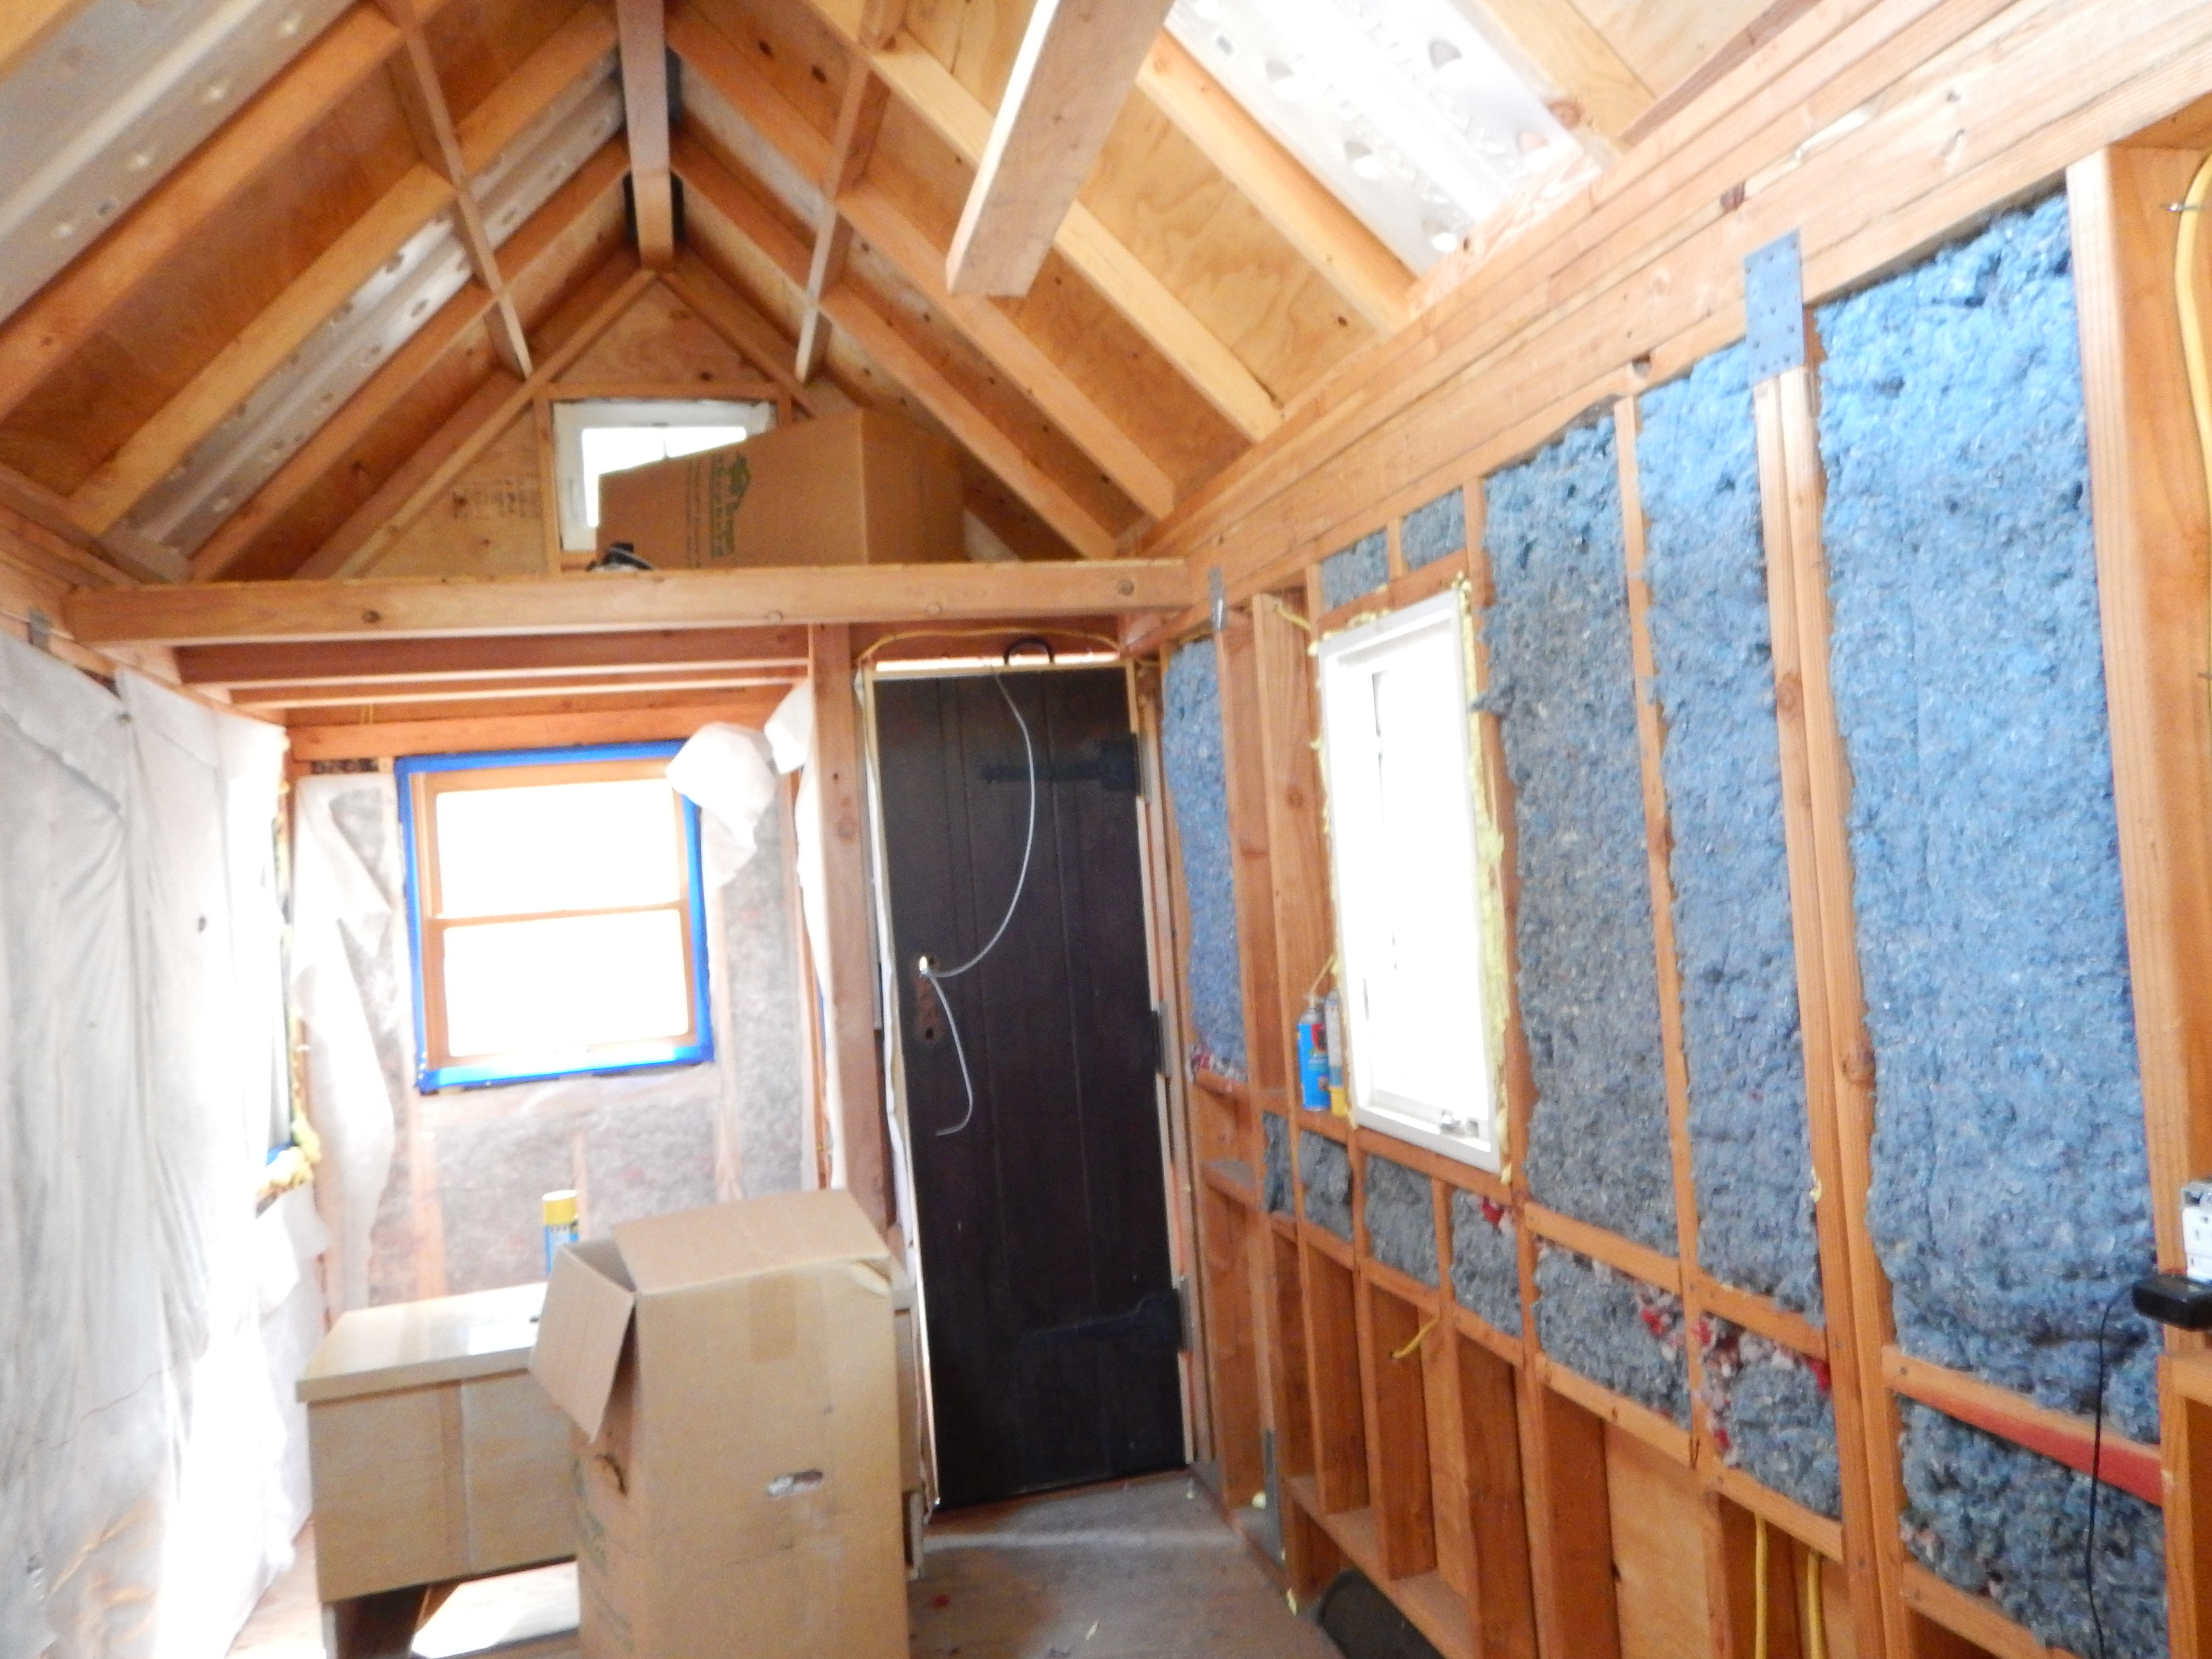
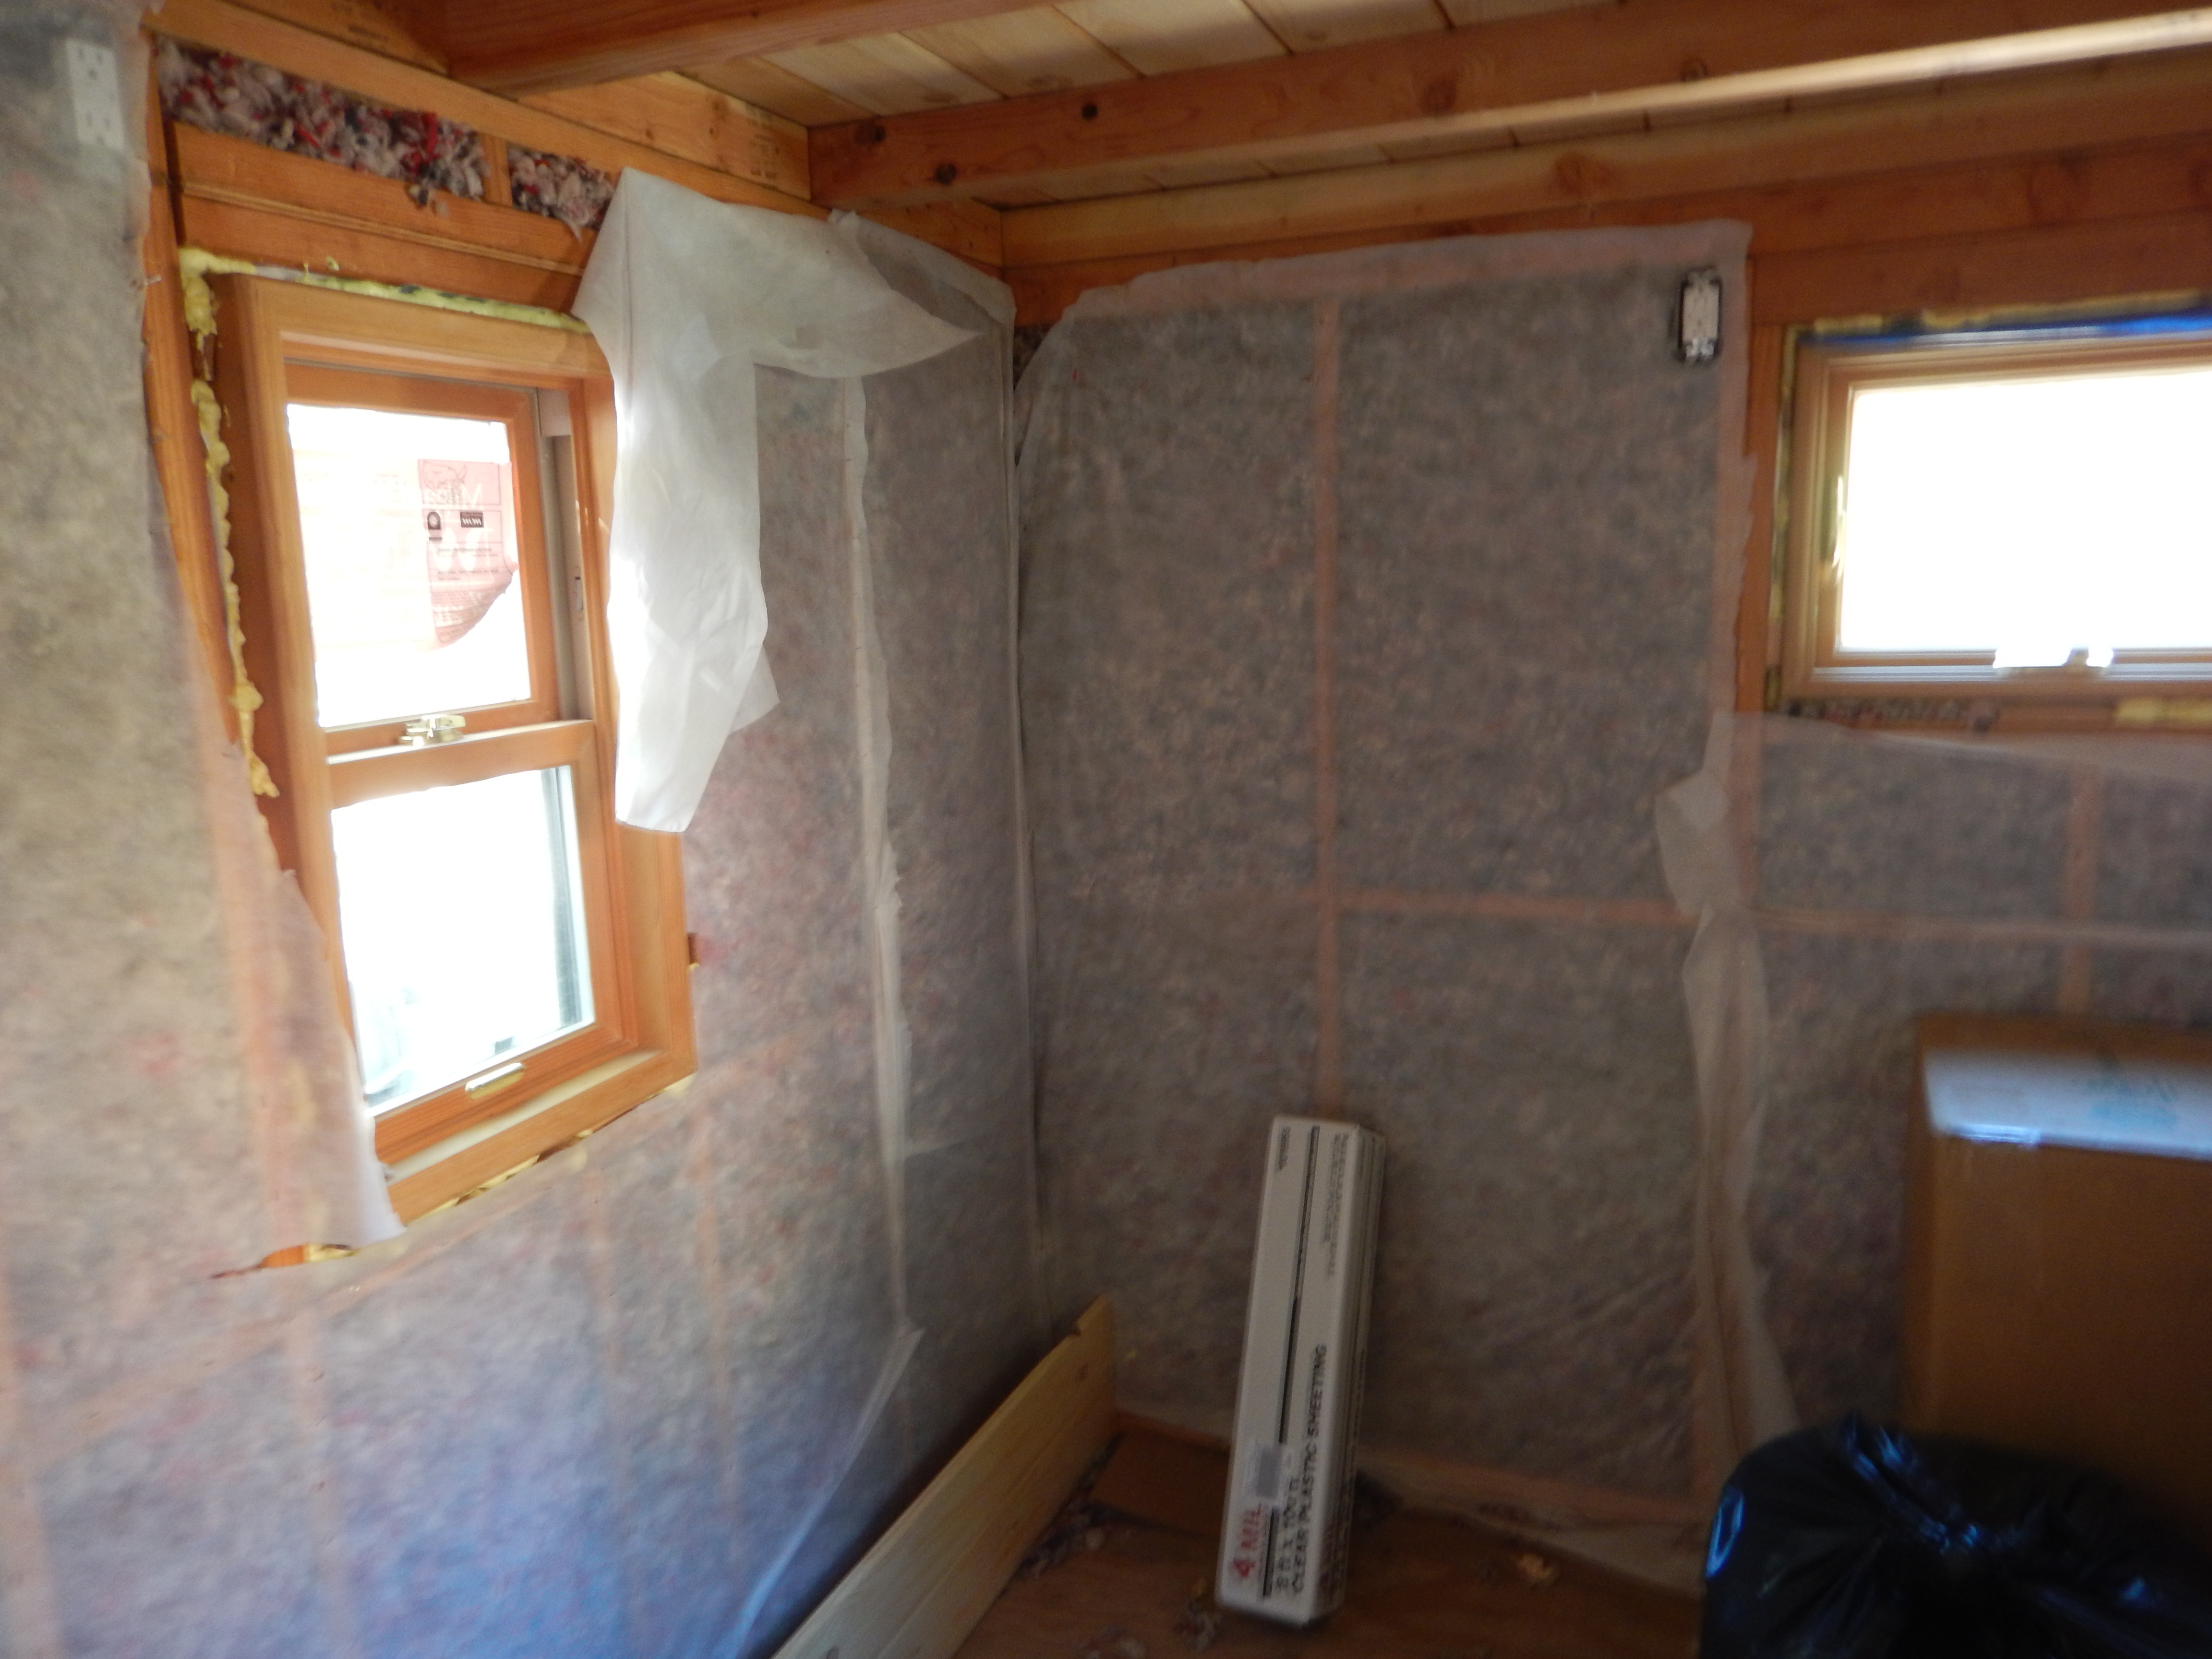
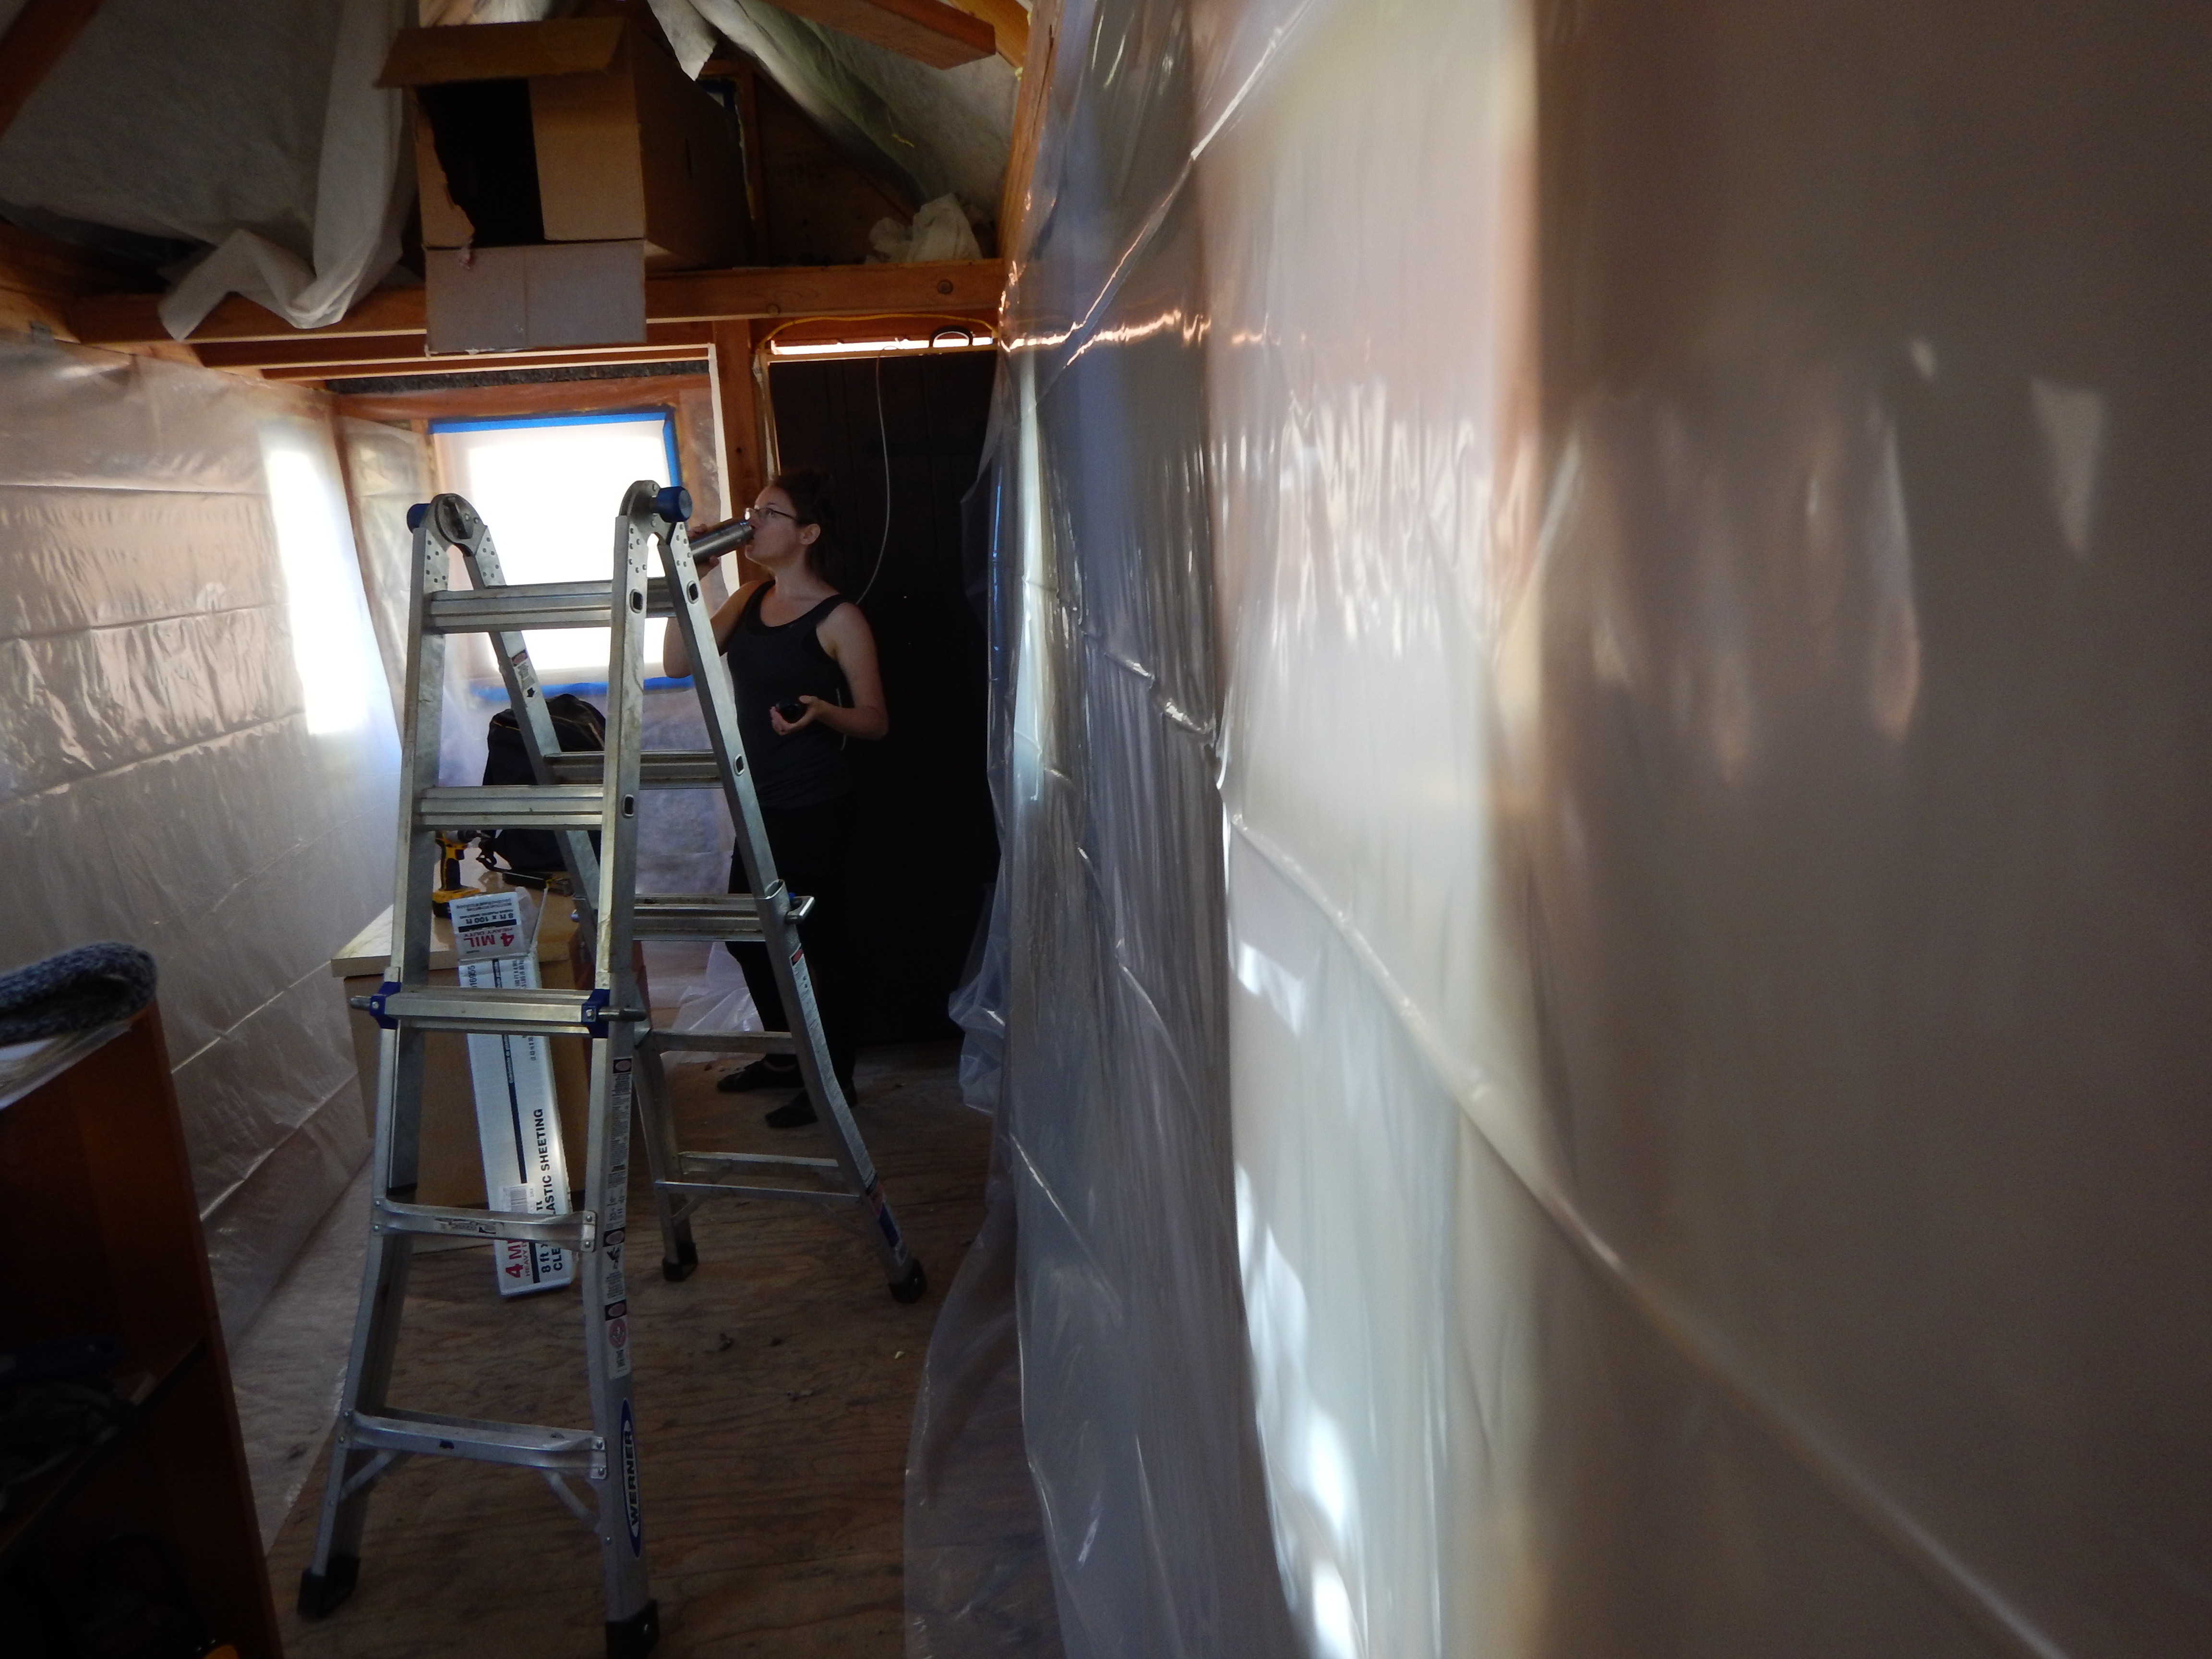
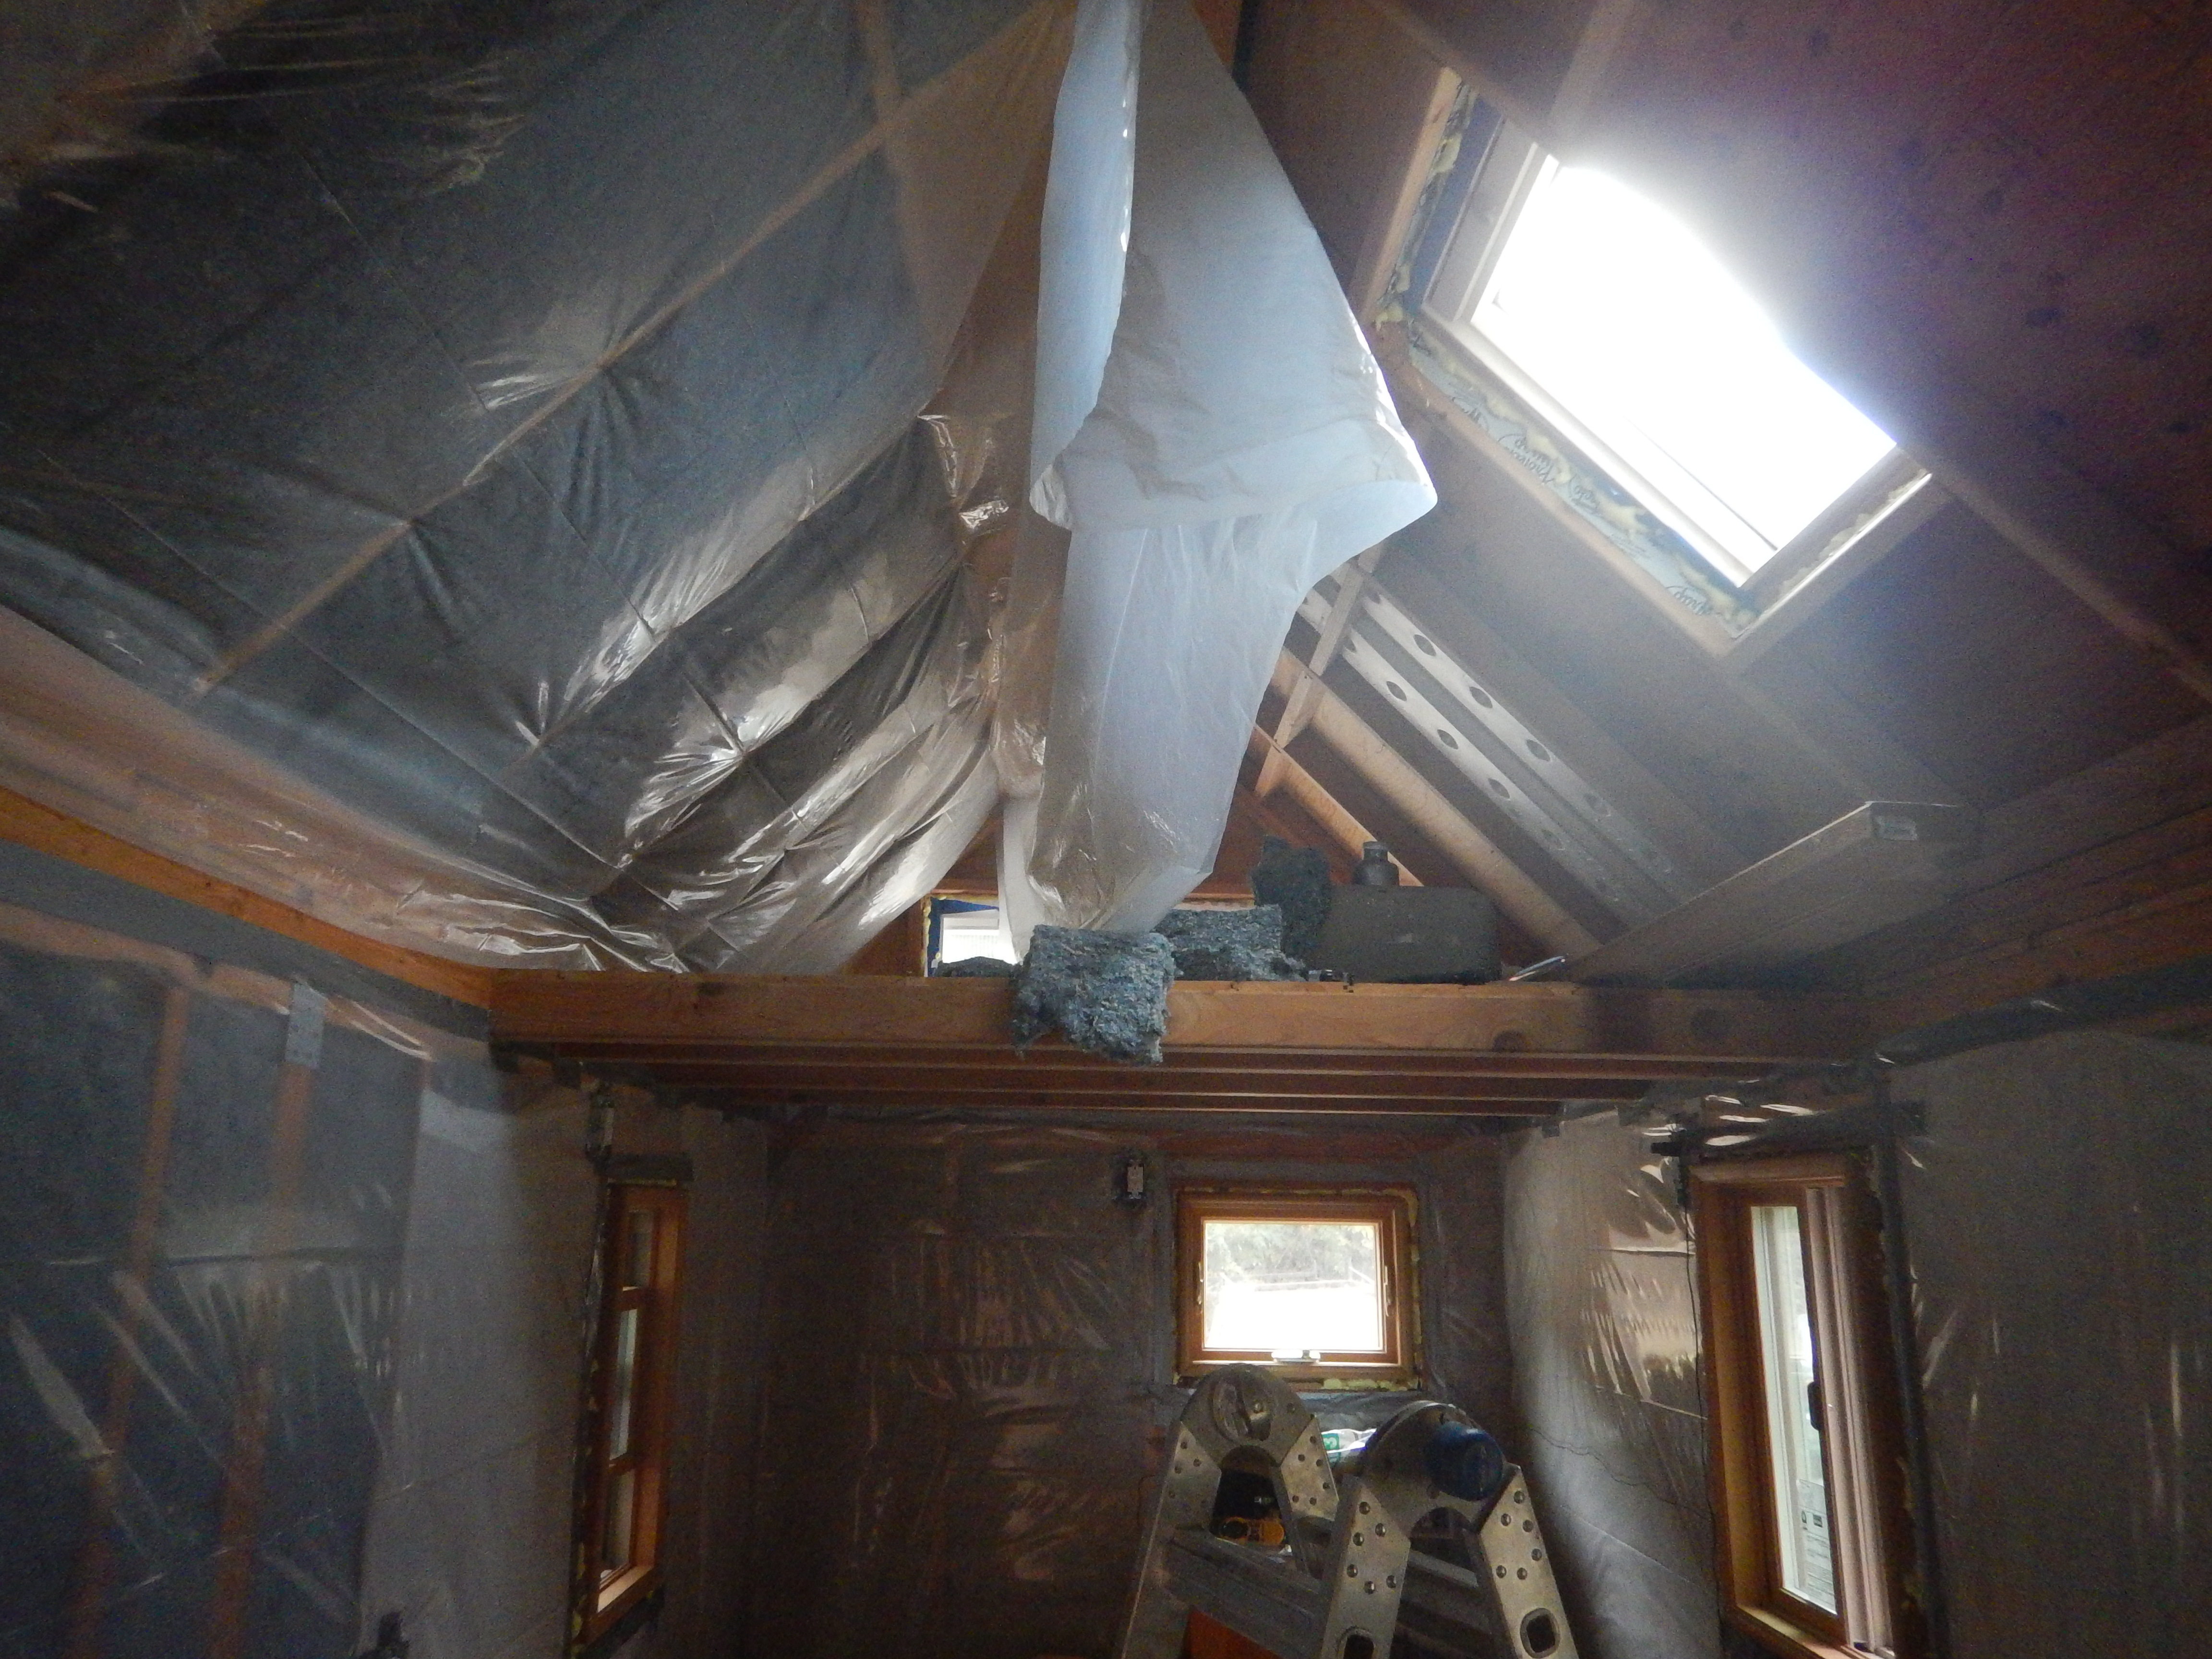
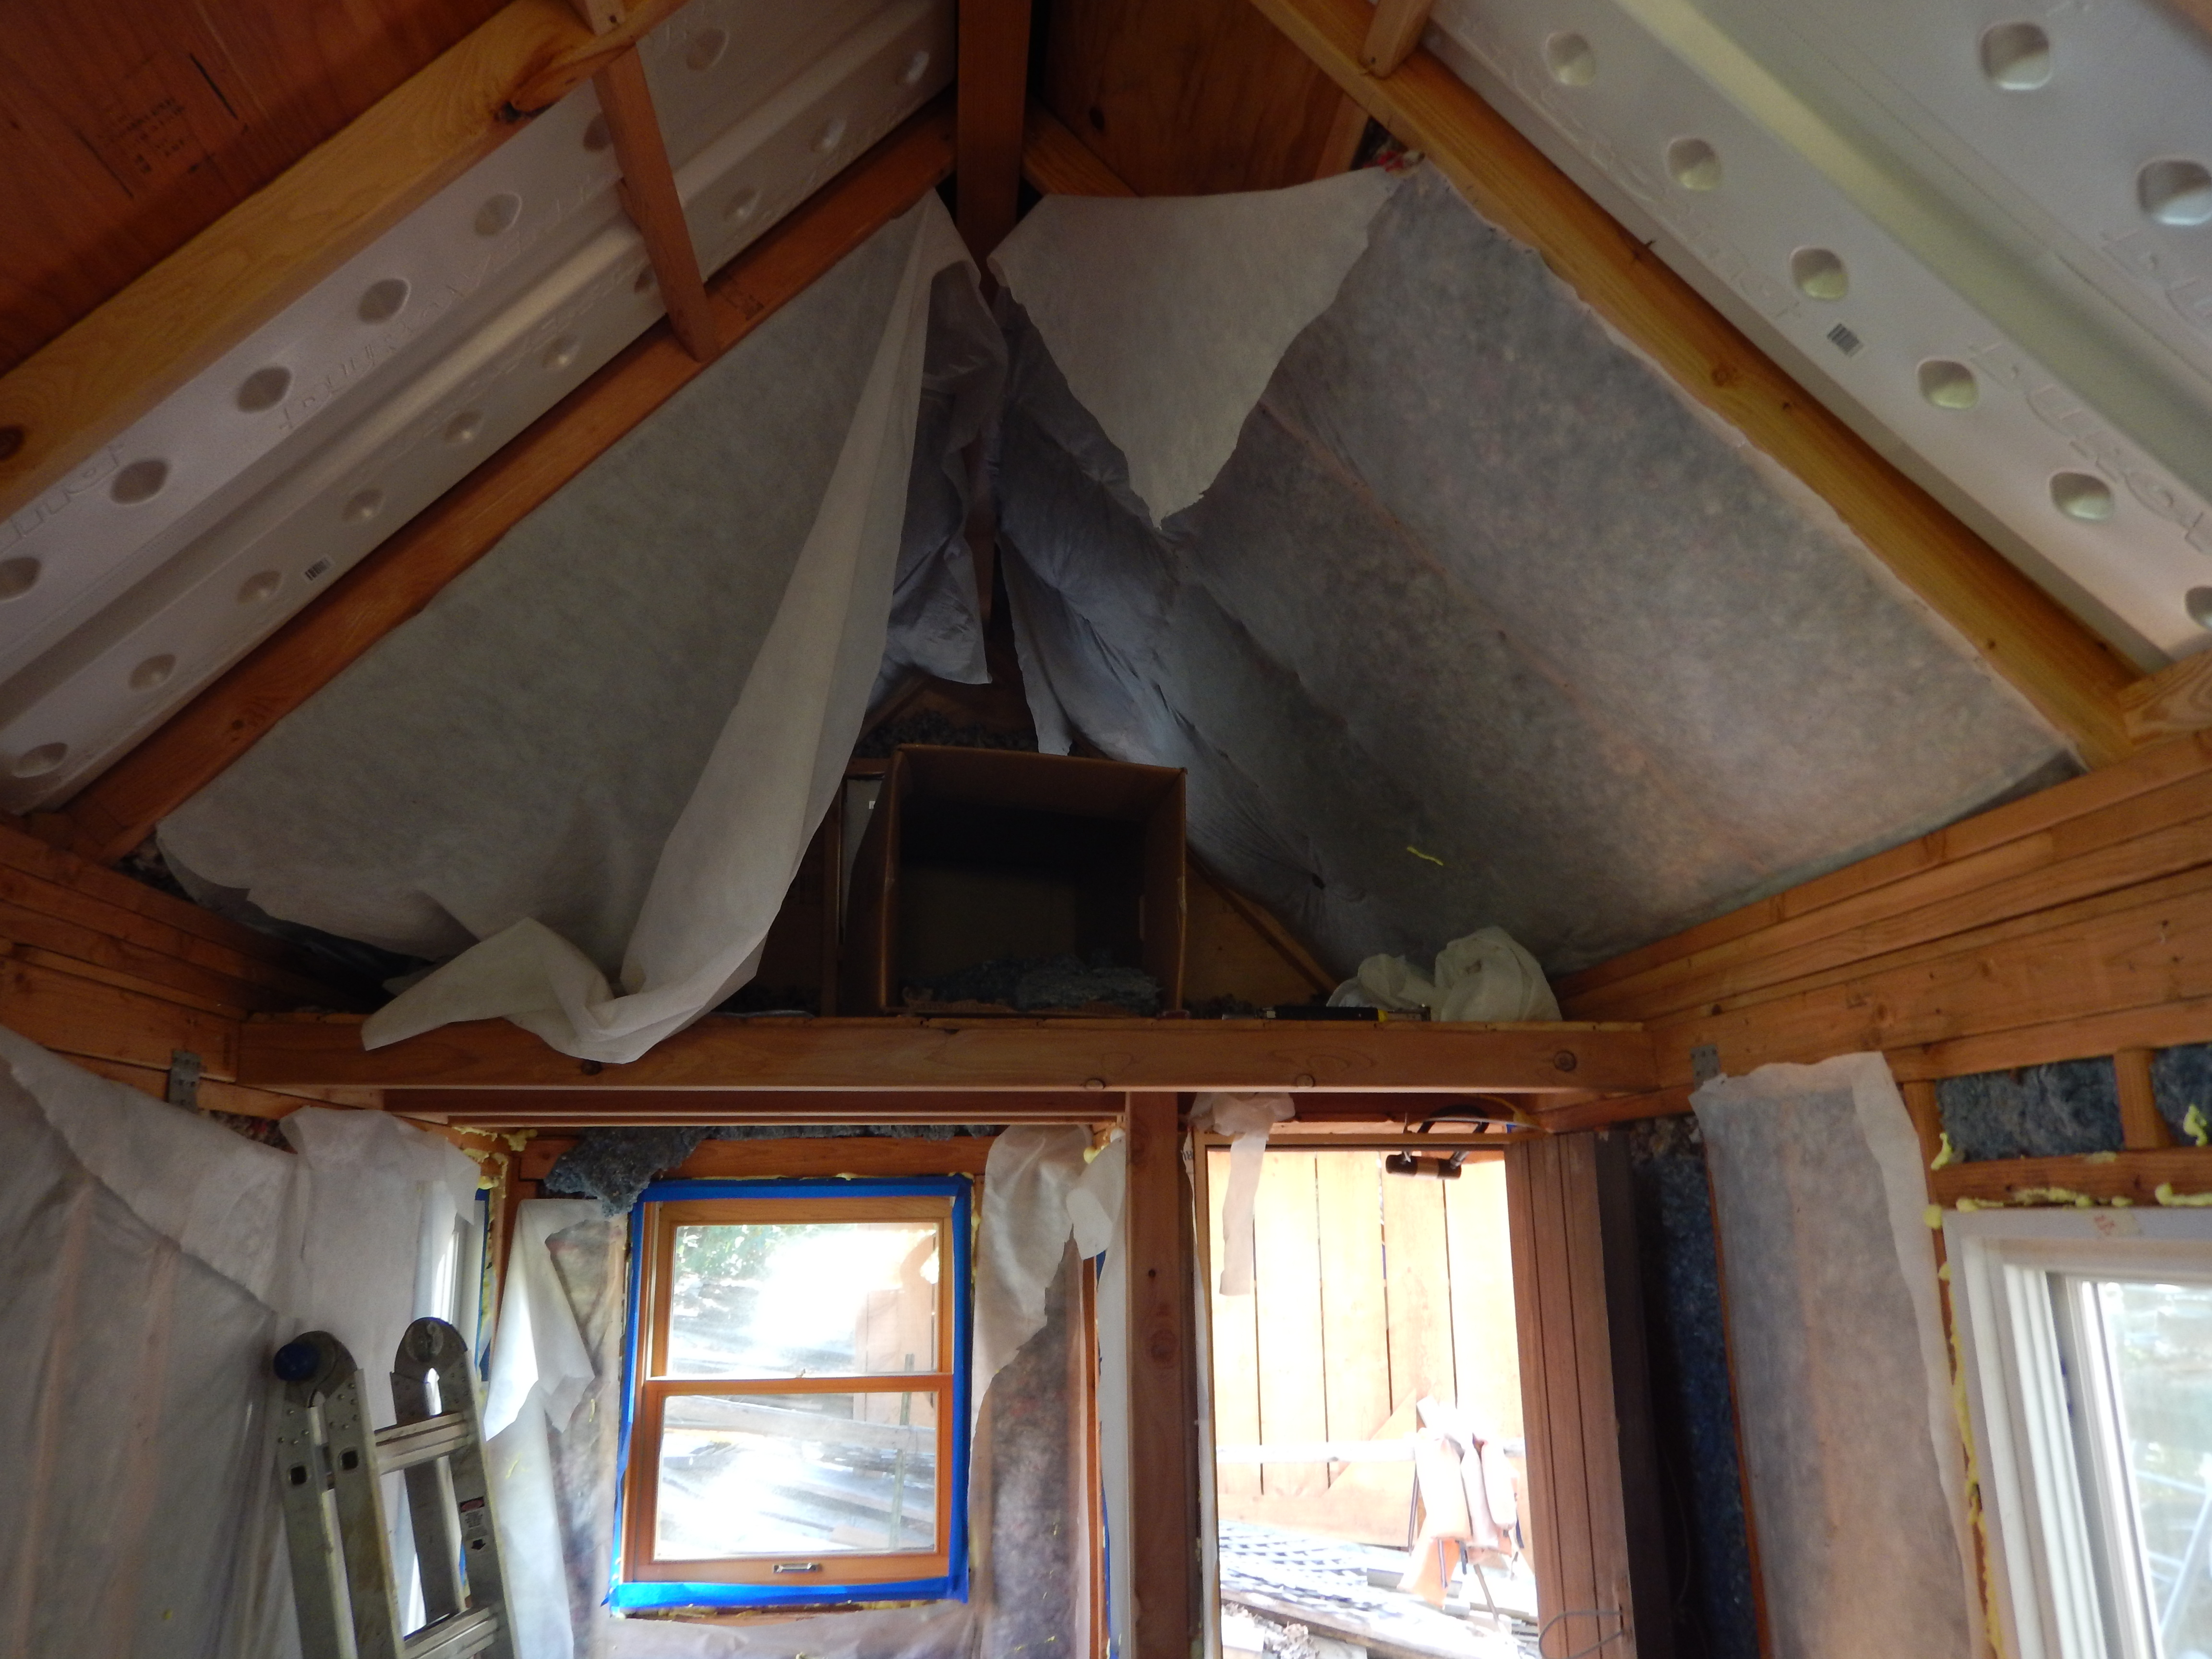
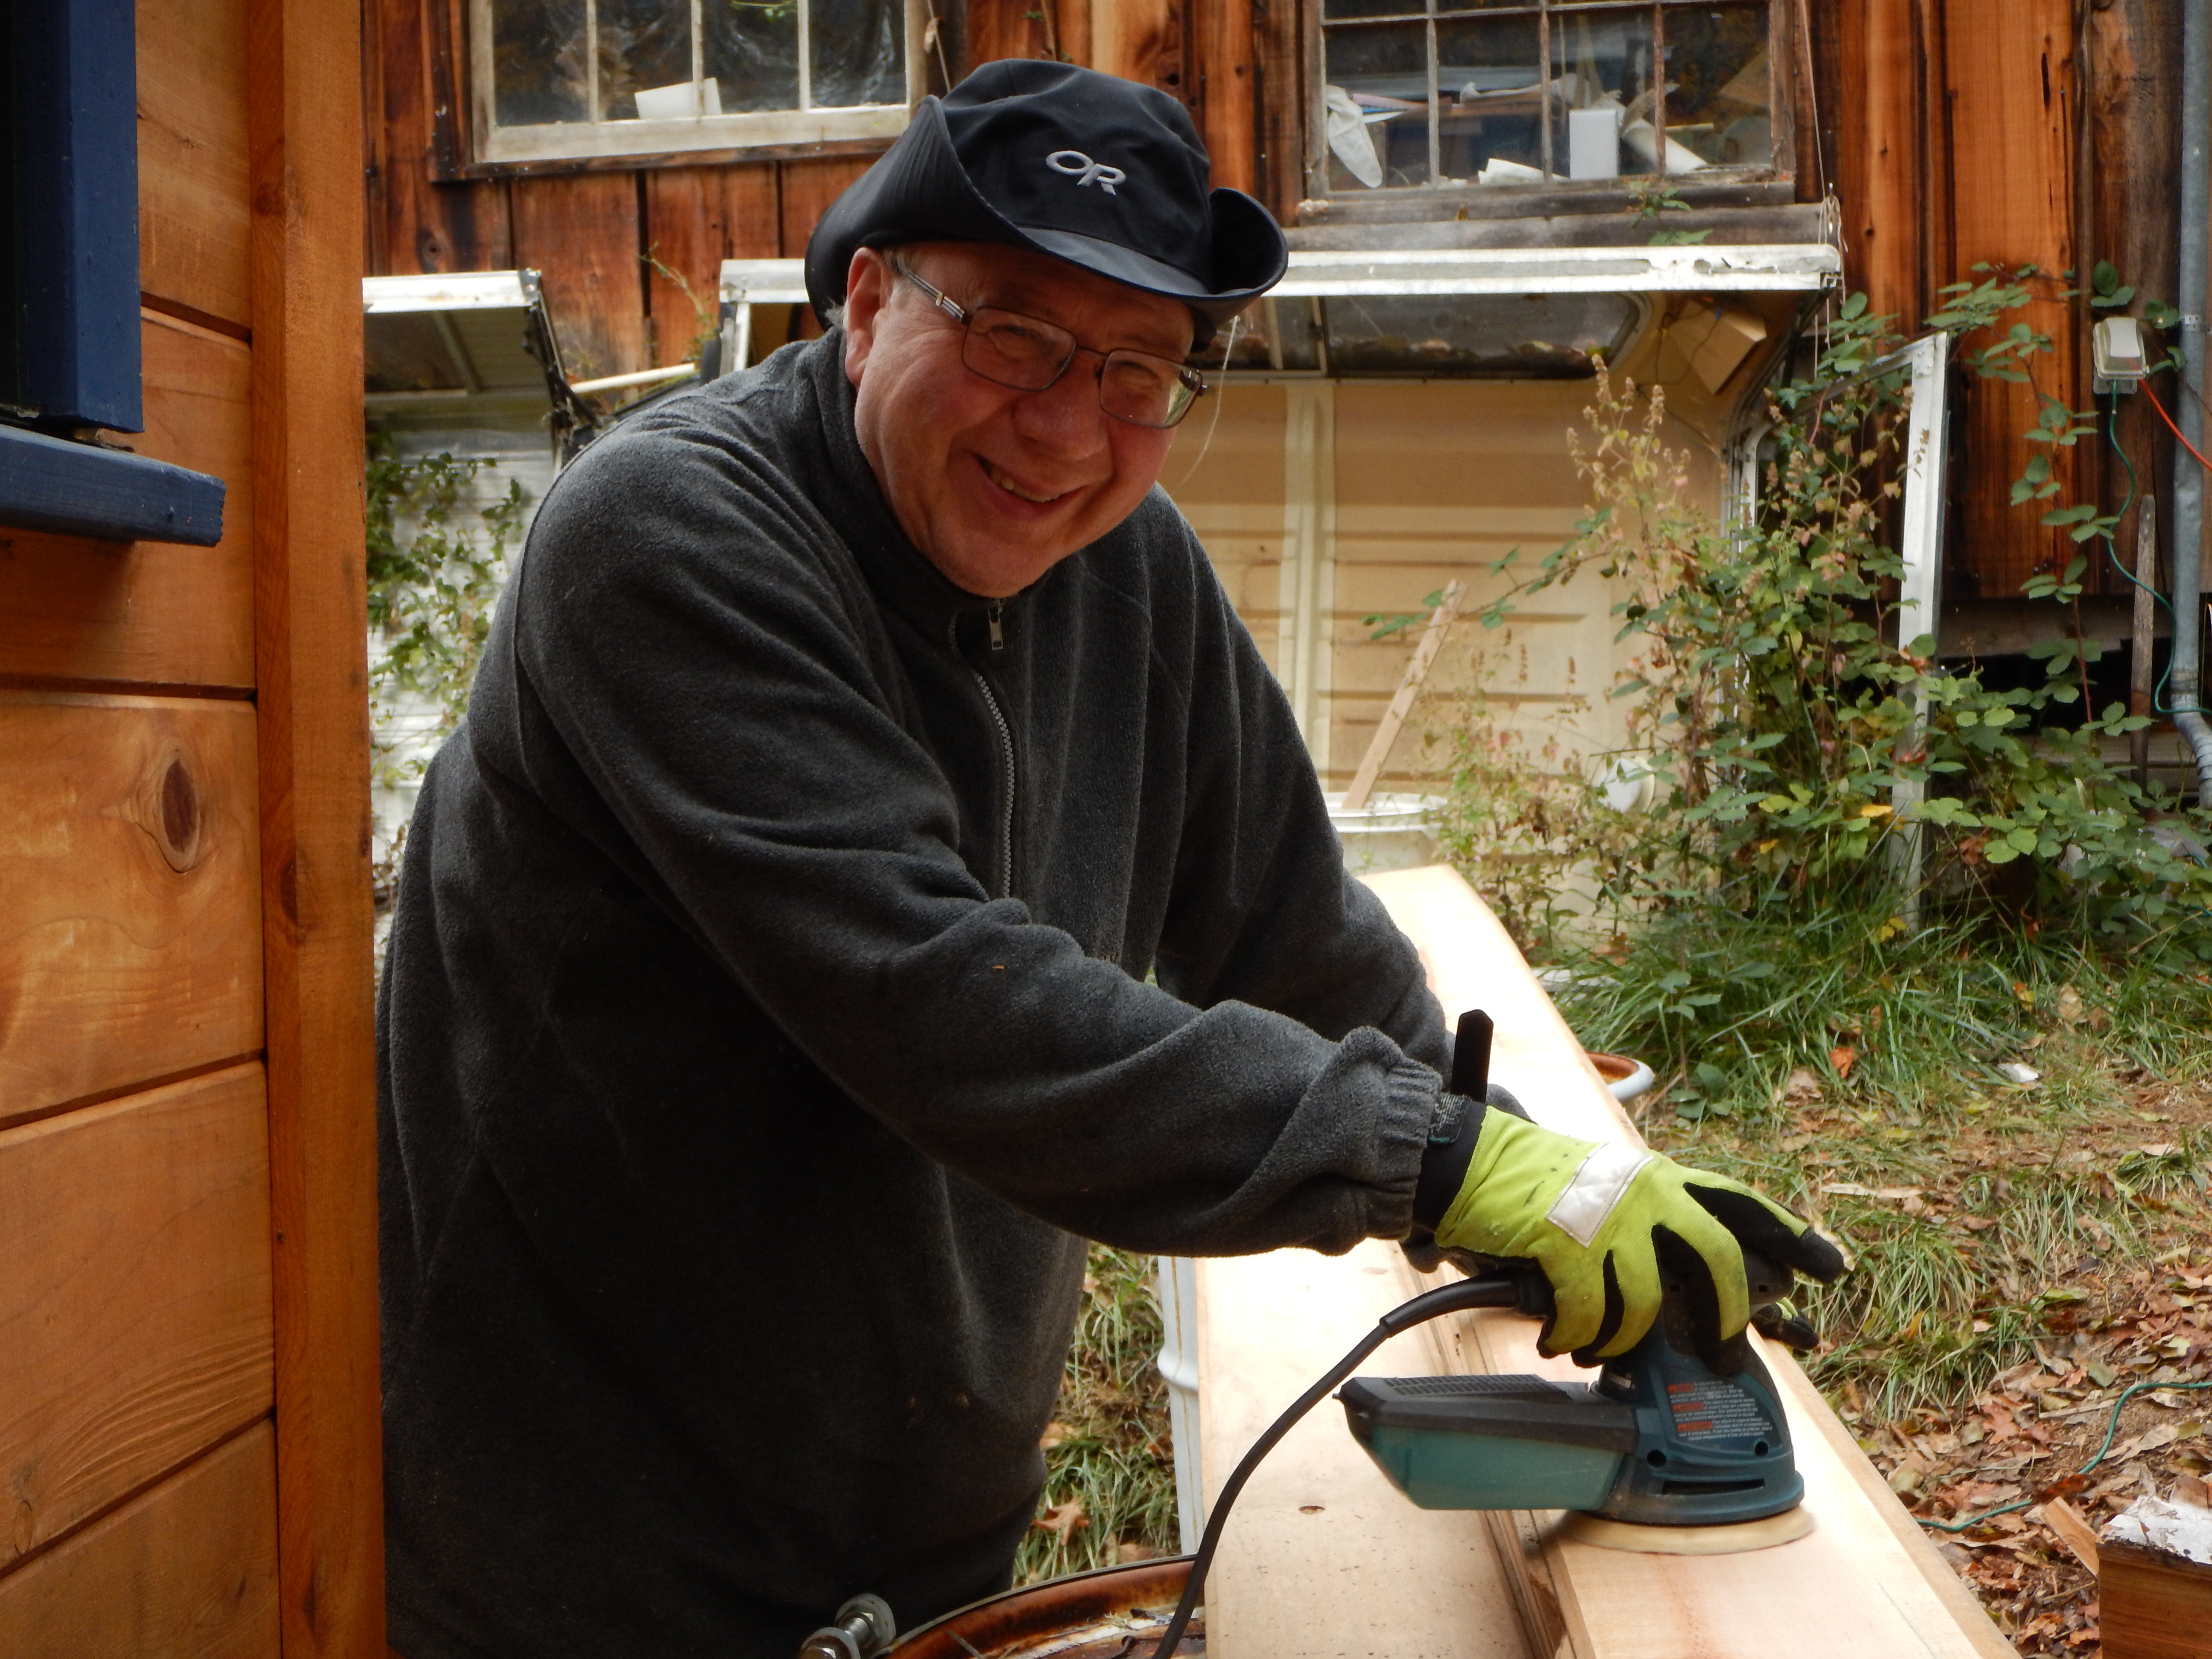
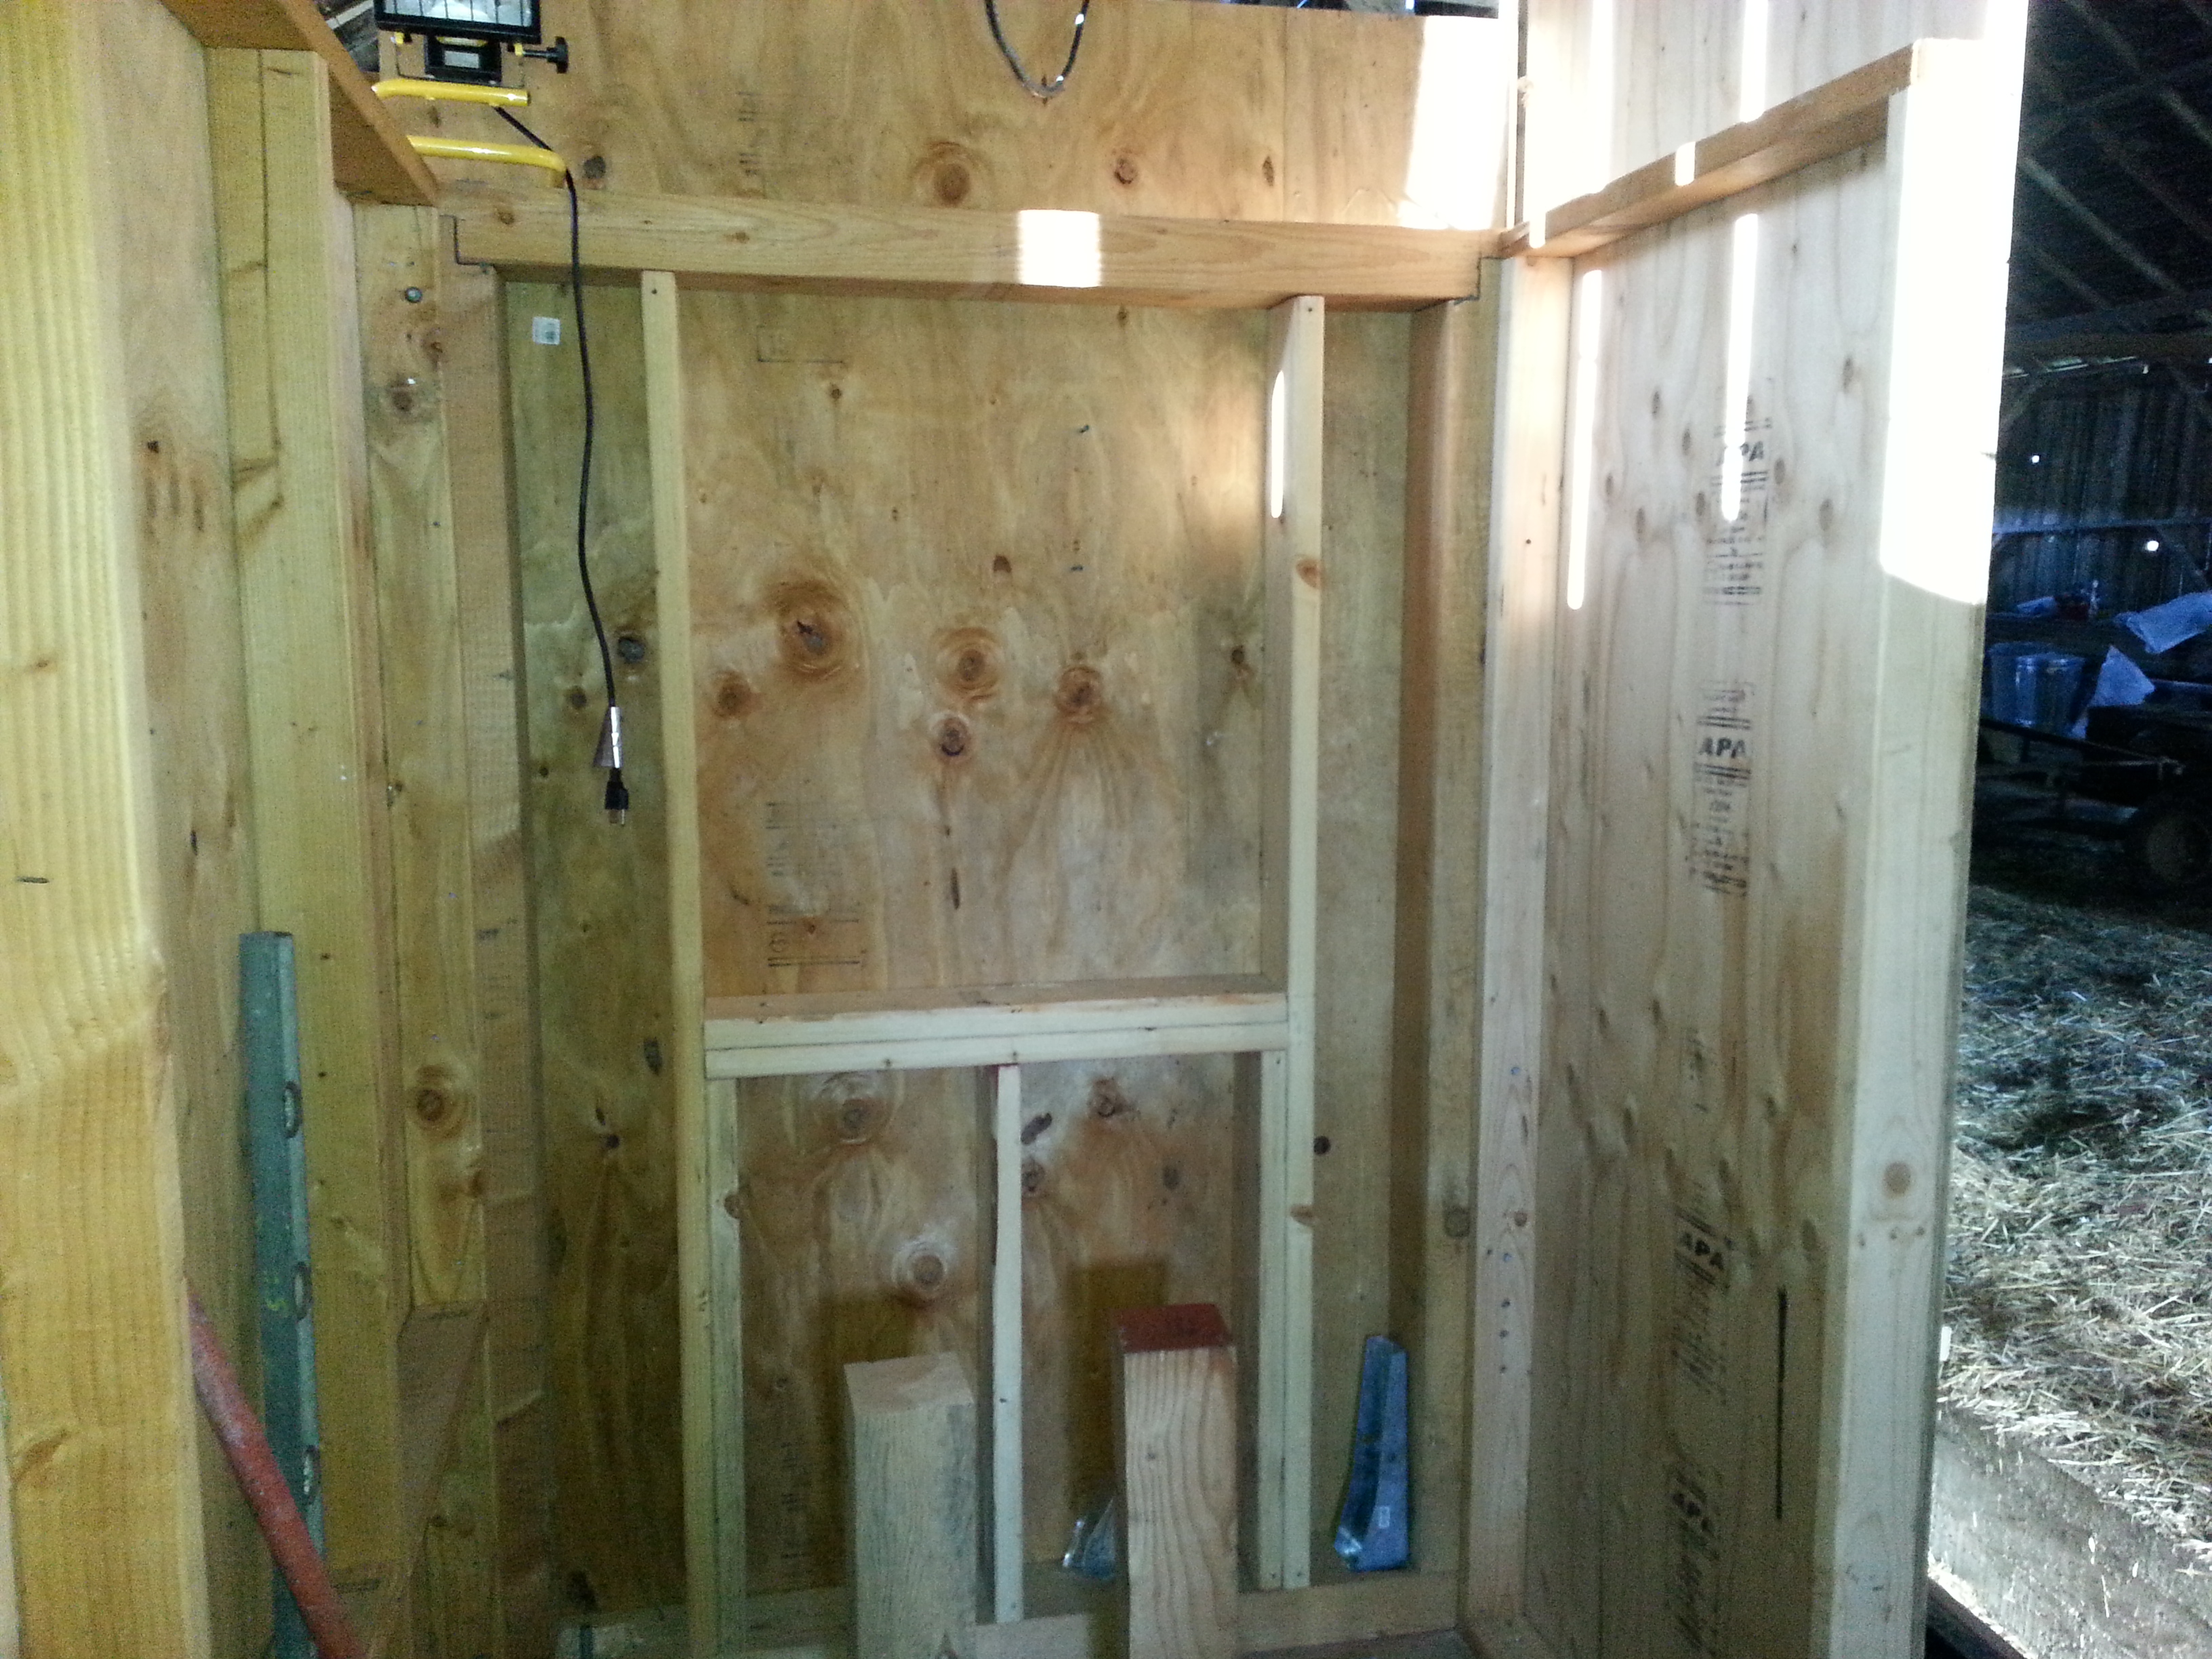
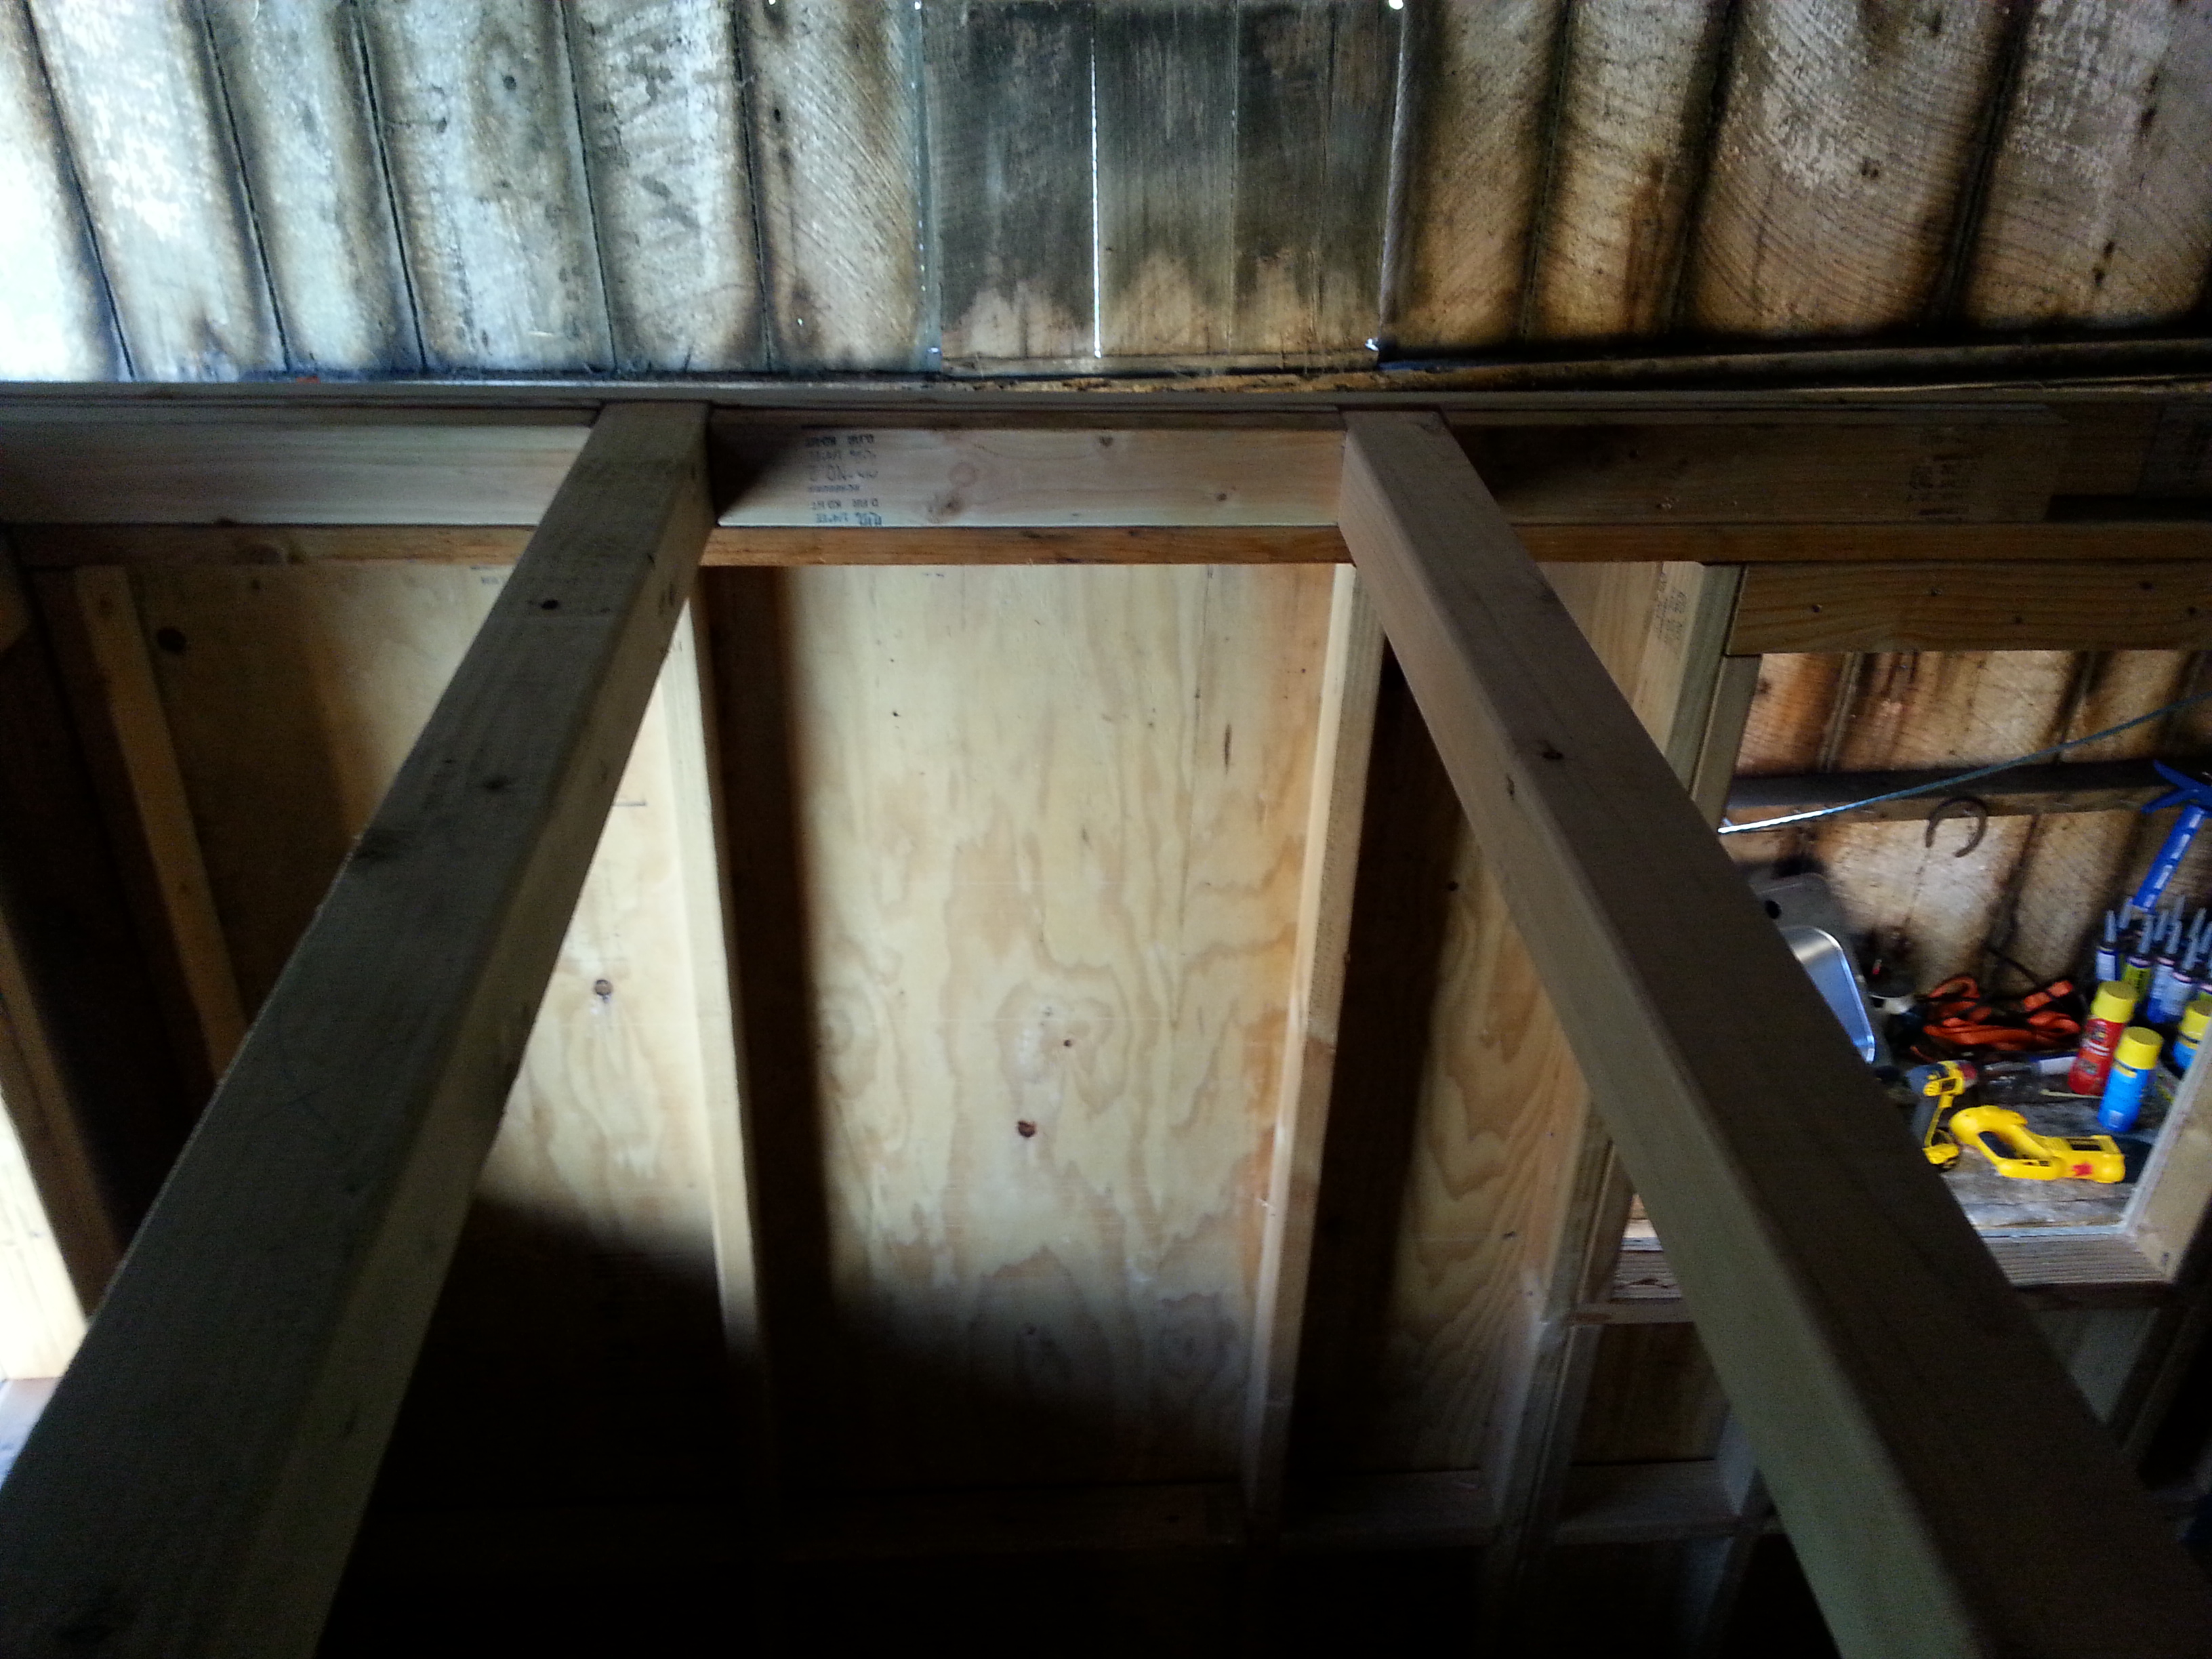
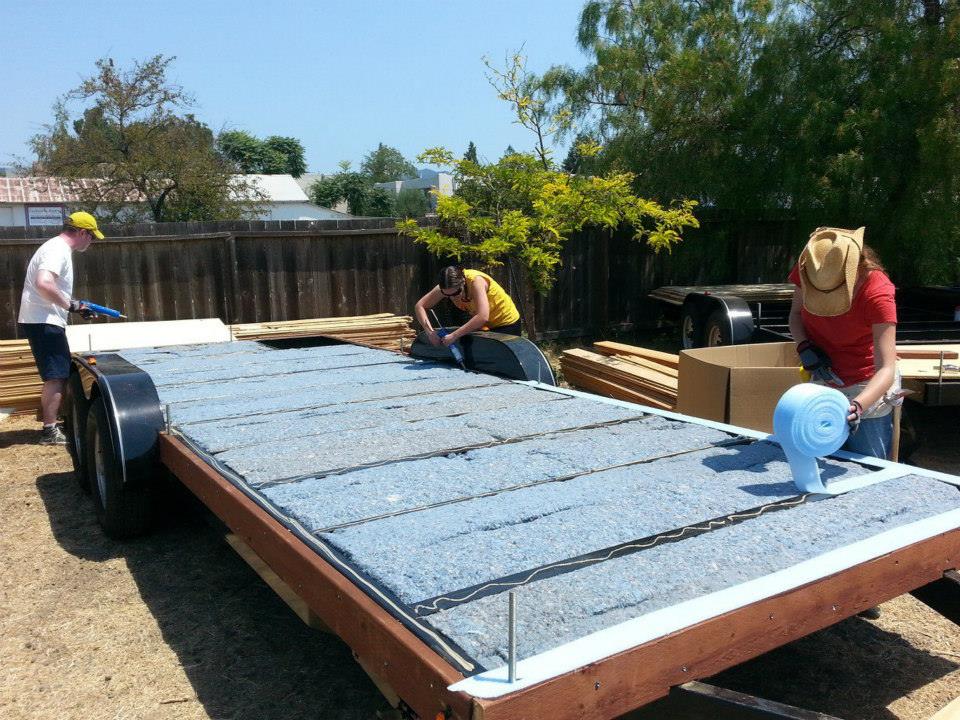
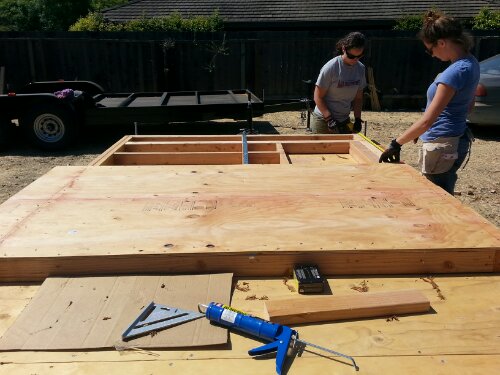
Our latest building accomplishments have been: insulating, which took longer than expected (we did loose-fill wool and some denim), installing the interior siding (excluding trim), and my dad came to help for a wonderful week of cedar-sanding and putting on the ceiling.  Pictures…. everybody wants pictures.  So, here are some that detail the progress.

dscn1404_21796781156_o
‘It looks like a construction site in here!’
dscn0743_20231019908_o
Not wanting our leftover denim from the floor to go to waste, we put it here…that was WAY faster than fluffing the wool and stuffing it gently in.
dscn0746_20232295679_o
Wooly walls


dscn1495_21200617614_o

dscn1506_21638143739_o
Vapor Barrier up!
dscn1529_21517798083_o
Ceiling was tedious.

dscn1496_21797228396_odscn1637_22393804439_o

Sarah stuffed some wool into the wheel wells proving once again that small hands are a real plus on a build!

dscn1640_22393811879_o
White pine on the back wall UP!
dscn1670_21958086154_o
Poco a poco

dscn1645_22591869871_o dscn1669_21959622713_o

discovered some of the wool insulation settled!
discovered some of the wool insulation had settled so we had to re-stuff in some places!
dscn1703_22926072325_o
Dad came to help with some cedar-sanding and insulation on the ceiling! We couldn’t have done it without him in SO many ways.

dscn1714_22937171921_o

dscn1708_22912644542_o
Same cedar siding as the outside, just untreated for the ceiling!
dscn1724_22926007045_o
Dad shows me how to un-warp` 17′ boards with a ‘reverso-clamp’ -I don’t know what else to call it)
dscn1795_22925828175_o
Cedar up!
dscn1805_22507512088_o
Laying back in the spacious loft to enjoy a job well done!


One step at a time, nail-by-nail, lesson-by-lesson, I get schooled and learn new humility and respect for the people that do this for a living.  Maybe, someday, these skills will translate into something that will benefit the world at large.

Have a happy and humble new year, one board at a time.

Josephant and Sarahpillar.

Advertisement

April Build Update

Lot’s of pictures coming up! (With lambs, of course!)

We backed the house into the barn and stored all the materials underneath it or in unused horse stalls in the back. wpid-20140219_161041.jpg

Joseph using the barn beams to plumb the walls of the house.

wpid-20140220_101011.jpg

A view from where the lofts are about to be put in.
wpid-20140219_160648.jpg

4X4 Redwood beams sanded with 240 grit paper, then put into place.  It’s hard to NOT pet them as we walk under

wpid-20140219_160833.jpg

With the help of my friend Edward, the loft gets put into place! Oh how sweet it is.wpid-20140322_143735.jpg wpid-20140322_143724.jpg wpid-20140317_155100.jpg

A better view of the redwood beam under the tongue-and-groove cedar loft.wpid-20140317_151856.jpg

Edward and I enjoying the view from what will be the bedroom!
wpid-20140310_175148.jpg

Building up the side wall by about 6”.  We didn’t extend the sheathing up past our framing (like we were supposed to do), so we’re putting these nifty Simpson plates on, to attach the sheathing and to add to the structural integrity.

wpid-20140326_144856.jpgwpid-20140404_130830.jpg

Simpson plates? $.49 each.  Hammer and nails? $21.86.  The feeling that our house can whiz down the highway without racking?  Priceless.
wpid-20140404_130821.jpg

Sometimes you just get your head stuck in a fence…wpid-20140414_103543.jpg…when going for the wisteria!  #ranchlifewpid-20140414_103526.jpg

Stuffing insulation loosely into the wall headers.  It’s the air that makes insulation do what it does, and if you pack it too tightly, it transfers cold and heat too easily.wpid-20140317_155035.jpgwpid-20140317_151835.jpg

Here’s Meg helping us out!  Things go SO much faster with her around.  Good luck in Indiana, Meg…See you soon! 
wpid-20140326_140902.jpg

Sarah and Meg knocking it OUT!wpid-20140326_162831.jpgwpid-20140326_140812.jpg

Puttin’ on the Rit…uh…. house wrap!
wpid-20140326_162734.jpg wpid-20140326_162646.jpg

Cutting out the windows and flashing them.

wpid-20140326_162631.jpgwpid-20140404_130755.jpg

Our window nook taking shape!wpid-20140404_130728.jpg

Color test for our cedar siding.  We have a winner!
wpid-20140404_130943.jpg

Porch being built.
wpid-20140404_130711.jpg wpid-20140403_145250.jpg

Our new/old table saw… They don’t make them like this anymore. wpid-20140415_100743.jpg

How we did without it before, I’ll never know.

wpid-20140404_131006.jpgwpid-20140404_131022.jpg

We want this image as a stained glass window in our work loft.  4 or 6-sided.  Anyone know someone who does stained glass?
wpid-20140409_120219.jpg

All the windows are IN!  Shimmed and ready for trim, which will also double as window-holder-inners.
wpid-20140414_171656.jpg

Breaking the shims off is the fun part.

wpid-20140414_171914.jpgI left a LOT of space to make mistakes for the windows, thinking I’d need the extra leeway to get it right.  All I can say is, it’s just not needed.  1/2” on all sides is all you need, and it’s both easier and better insulated if your rough opening is smaller.  Live + learn.
wpid-20140414_171712.jpgwpid-20140414_172201.jpg

To put the windows in by myself, I made these jigs for the outside of the window.  I used them to clamp onto and as spacers to allow for the 1” overhang on the outside.wpid-20140414_172519.jpgwpid-20140412_121735.jpgwpid-20140414_172513.jpg

The last window that went in had nailing fins… = cake!wpid-20140415_135228.jpg

Coop-n-Annie…

wpid-20140412_145422.jpg

That’s all for now.  I hope to put up some videos next week about all these things.  Also to look forward to: bed vetting, window trimming, painting and figuring out utilities (this one makes me nervous).  Oh and lambs and sheep.  Plenty more lambs and sheep.

A Strong Foundation, and a Wall

by Joseph and Sarah

It’s been an eventful month here at our group build site in Sonoma.  As a group, we’ve been building subfloors onto our trailers and starting to frame our walls.   Here’s a little update we wrote for the Tumbleweed Tiny House newsletter, and we added a bonus here:  a short video of our build progress!  Check it out at the end of this post.

I’m sure we’ll get used to it one day, but for now Joseph and I often find ourselves thinking, “This is actually happening! This is our house!”  There is something so special about knowing exactly what is going into every single part of this house–every self-tapping metal screw, piece of plywood, and batt of insulation.

We started by protecting our future houses by screwing pressure-treated 2X6s all around trailer’s outer edge.  It’s not easy to screw through pressure-treated lumber or steel trailers, let alone both.  But we got much better at it as we went around each trailer, eventually settling into the right balance between effort and gentleness to get the screws all the way in without breaking.

Next we put in the subfloors.  Meg and Dan (Team Yellow) and Joe and Breanna (Team Purple) used polystyrene insulation that they cut to fit between their trailer struts.  After Team Red’s (that’s us) woeful experiment with washing wool for insulation we bought batts of recycled denim and fit those in.  We put down construction adhesive, sill sealer, then we attached ¾” plywood.  Yahoo–we have subfloors!

We are doing a traditional “stick build,” so we got going on modifying our plans to fit our salvaged windows, and then cutting sill plates for the whole house.  We then cut the studs for the back wall and nailed them together with our new serious, dangerous tool, a pneumatic nail gun.  Ka-thunk!  We now have a back wall.

Sharing tools, batteries, and hands was such a benefit in this physical process.  Lifting ¾” ply is not easy by yourself, nevermind placing the tongue in the groove and getting it all screwed down.  When we made a mistake on our house, it was satisfying to be able to talk about what happened, and prevent our co-builders from doing the same thing.

The other two couples are building with SIPS (structural insulated panels), which have not yet arrived.  In the meantime, Joe and Bre are researching old-time-y locks with skeleton keys for their front door.  They’re also shopping around for a speak-easy door hatch.

Coming up next, a good old-fashioned SIPS-raising.  Also, torching exterior siding shou-sugi-ban-style (What? You’ll see!) And more walls from us, definitely.

If you’re on Facebook, please check out our Seeds with Wings page – we are trying to post photo updates pretty often.  And below is our fascinating yet concise build update video and pictures.  You can see our first wall!

1000195_328997830568085_505293537_n1006289_328997780568090_2100437628_nwpid-20130728_100906.jpgwpid-20130727_163508.jpgwpid-20130728_110154.jpg